

How to restore a nonstick carbon steel pan: full guide
TL;DR:
- Seasoning on carbon steel pans degrades due to acidic foods, water, harsh cleaning, moisture, and temperature shocks.
- Restoring involves thorough cleaning, removing damaged seasoning, drying completely, and applying multiple thin oil layers through heating.
- Consistent, gradual seasoning and proper maintenance extend the nonstick surface effectively over time.
You flip a delicate omelette and it sticks, tears, and clings to the surface. Frustrating. But that sticky pan is not broken — it simply needs its seasoning restored. Carbon steel cookware builds its nonstick ability through a natural layer of polymerised oil called seasoning, and that layer can degrade over time through acidic cooking, improper cleaning, or neglect. This guide walks you through every stage of the restoration process, from diagnosing the cause to re-building a smooth, near-frictionless surface that will handle eggs, fish, and delicate vegetables with ease.
Table of Contents
- Understanding the causes of reduced nonstick performance
- Essential tools and materials for pan restoration
- Step-by-step guide to restoring the nonstick layer
- Troubleshooting and prevention: common mistakes and how to avoid them
- What most guides miss: the art of gradual seasoning for lasting nonstick
- Restore your pan with trusted carbon steel specialists
- Frequently asked questions
Key Takeaways
| Point | Details |
|---|---|
| Seasoning is key | The nonstick ability of carbon steel pans depends on proper seasoning and care. |
| Tools matter | The right mix of household and specialist tools ensures successful restoration. |
| Prevent common errors | Avoid acidic foods and harsh cleaners to extend your pan’s nonstick life. |
| Gradual restoration works best | Building up seasoning slowly yields more lasting nonstick results than quick fixes. |
Understanding the causes of reduced nonstick performance
Before you restore anything, it helps to know exactly what you are restoring. Seasoning is not a coating applied in a factory. It is a thin, hard layer of polymerised oil that bonds to the surface of the carbon steel through repeated cycles of heat. Each time you cook with oil at high temperature, that layer grows slightly stronger and more hydrophobic, meaning food slides rather than grips.
Carbon steel itself is a reactive metal. Unlike stainless steel, it does not have a passive oxide layer to protect it from its environment. That reactivity is precisely what allows seasoning to bond so effectively to the surface, but it also makes the pan vulnerable when things go wrong. You can read more about how the carbon steel pan material behaves under heat and use.
So what strips seasoning away? Several things:
- Acidic foods: Tomatoes, lemon juice, vinegar, and wine are the biggest culprits. Acidic foods degrade seasoning by reacting with the polymerised oil layer, and as one pan review confirms, acidic foods like tomatoes actively wear it down with every use.
- Soaking in water: Carbon steel and standing water are a poor combination. Even a short soak can begin stripping seasoning and inviting rust.
- Harsh detergents: Dish soap used aggressively, especially with scouring pads, removes the oil layer faster than heat builds it.
- High-moisture cooking: Steaming and boiling introduce sustained moisture that weakens the bond between oil and metal.
- Sudden temperature changes: Plunging a hot pan into cold water causes thermal shock, which can not only strip seasoning but also warp the pan base.
Here is a quick reference for what each culprit does to your pan’s surface:
| Cause | Effect on seasoning | Severity |
|---|---|---|
| Acidic foods | Chemical breakdown of oil layer | High |
| Water soaking | Rust formation, layer lifting | High |
| Harsh detergents | Physical removal of seasoning | Medium |
| High-moisture cooking | Gradual weakening of bond | Medium |
| Temperature shock | Layer cracking, warping | Medium/High |
The good news is that carbon steel is remarkably forgiving. Even a pan that looks rust-spotted and sticky can be brought back to peak performance with the right approach.
Essential tools and materials for pan restoration
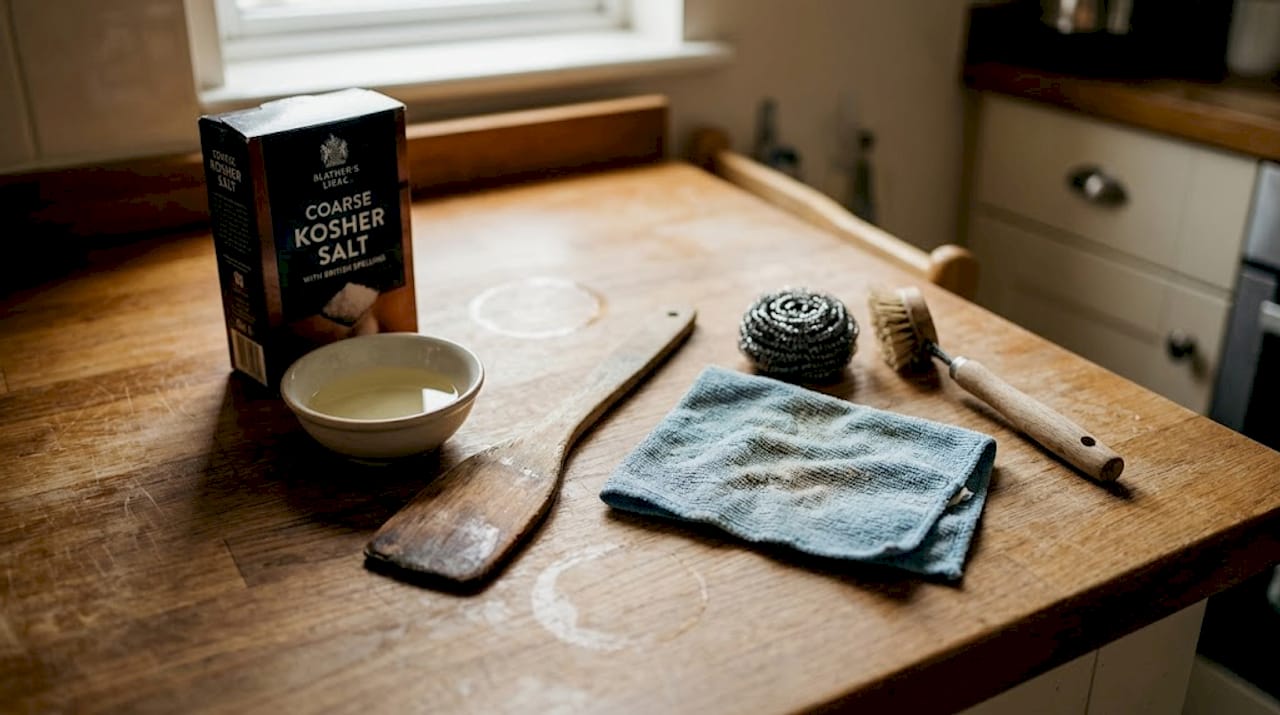
With a clear understanding of what degrades the nonstick surface, the next step is to assemble the right tools and materials for restoration. You do not need specialist equipment for most jobs. Many of the best tools are already in your kitchen.
For light to moderate seasoning loss, household items handle most of the work. For heavy rust or stubborn build-up, a small number of specialist products make the process faster and more thorough. Here is a side-by-side comparison:
| Tool/material | Household option | Specialist option | Best for |
|---|---|---|---|
| Cleaning abrasive | Salt + oil paste | Chain mail scrubber | Removing old seasoning |
| Scrubbing pad | Stiff brush or sponge | Chainmail pad | Rust spots |
| Seasoning oil | Sunflower or grapeseed oil | Flaxseed oil | All seasoning stages |
| Drying method | Hob heat | Oven at 120°C | Ensuring full dryness |
| Rust removal | Coarse salt scrub | Rust eraser | Surface rust patches |
A salt and oil paste is effective for scrubbing away heavy build-up without introducing harsh chemicals that damage the underlying metal. Simply mix coarse salt with a neutral oil, scrub in circular motions, and rinse clean.
For your materials list, gather the following before you start:
- Coarse salt (sea salt or kosher salt)
- High smoke point oil: grapeseed, sunflower, avocado, or canola
- Paper towels or a lint-free cloth
- Stiff brush or chain mail scrubber
- Oven or access to a gas/induction hob
You can find more detail on the full process in our guide to deep cleaning carbon steel pans, or browse our upkeep tips for ongoing maintenance.
Pro Tip: Avoid steel wool or abrasive cream cleaners. They leave microscopic scratches that make it harder for seasoning to bond evenly, resulting in a patchy, uneven surface that is more prone to sticking.
Avoid olive oil and animal fats for seasoning. Both have low smoke points and tend to go rancid inside the pores of the metal, creating a sticky, smelly layer rather than a hard, nonstick one.
Step-by-step guide to restoring the nonstick layer
Once you have everything ready, follow this structured process to restore your pan’s nonstick layer.
-
Clean the pan thoroughly. Rinse with warm water and scrub away loose debris using a stiff brush. Do not use soap at this stage if the seasoning is simply dull rather than fully stripped.
-
Strip old or damaged seasoning. If the surface is sticky, blotchy, or rusty, use a coarse salt and oil paste to scrub it back to bare (or near-bare) metal. Work in firm circular motions, then rinse and dry immediately.
-
Dry completely over heat. Place the pan on the hob over medium heat for two to three minutes until all visible moisture evaporates. This step is non-negotiable: any water left behind will interfere with seasoning adhesion.
-
Apply the first oil layer. Add a small amount of your chosen oil to the pan (roughly a teaspoon) and spread it across the entire interior surface using a paper towel. Then wipe it back aggressively, leaving only the thinnest possible film. The pan should look nearly dry.
-
Heat to polymerisation. Either place the pan upside down in an oven preheated to 250°C for 30 minutes, or heat it on the hob over medium-high heat until it begins to smoke and then stops. The oil is now polymerised into the surface.
-
Cool and repeat. Allow the pan to cool, then repeat steps 4 and 5 at least two more times. Three to four thin layers form a far stronger base than one thick application.
For a deeper look at the process, our guide on re-seasoning carbon steel pans covers additional techniques, and the pan re-seasoning process article addresses common questions about timing and temperature.
Pro Tip: Use the egg test to verify progress. Heat the pan over medium heat, add a small knob of butter, and fry a single egg. If it slides freely without encouragement, your seasoning is working. If it grips, add one more seasoning cycle before cooking proteins.
As one in-depth review confirms, seasoning builds progressively and eggs reliably slide after several weeks of correct treatment and regular cooking. Patience is genuinely part of the method.
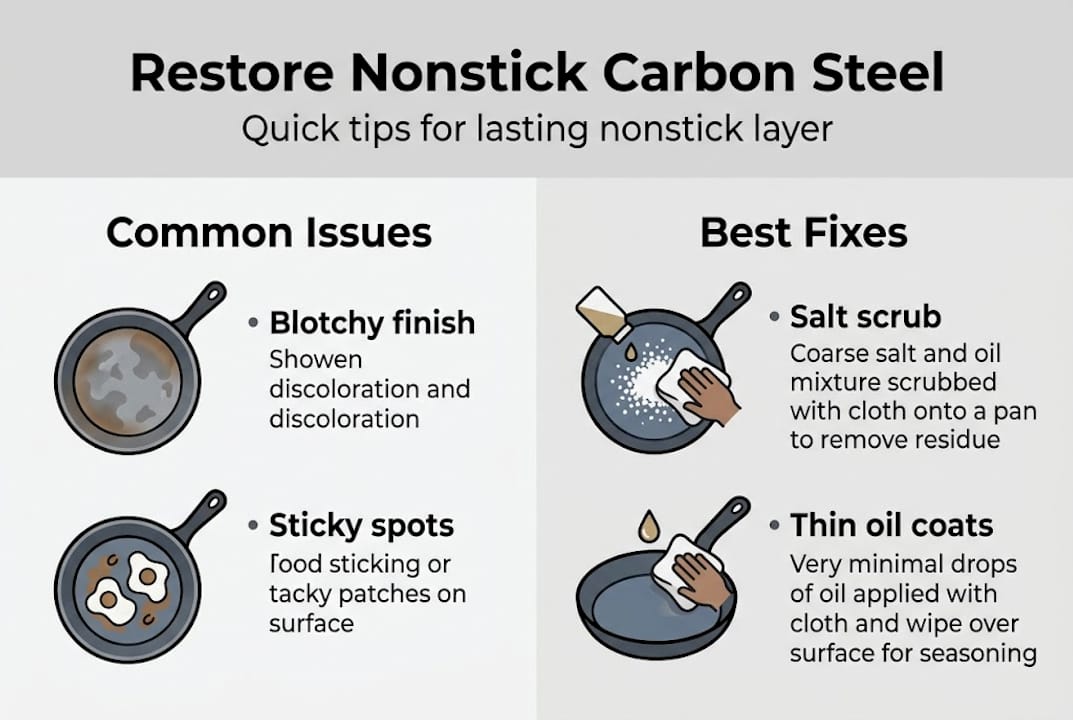
Troubleshooting and prevention: common mistakes and how to avoid them
Even the most careful restoration can face challenges; here is how to troubleshoot issues and prevent problems in the future.
The most common restoration mistakes include:
- Applying too much oil per layer. Excess oil pools and polymerises into a sticky, uneven residue rather than a hard layer.
- Skipping the drying step. Any moisture trapped beneath a seasoning layer will cause it to lift or bubble.
- Using the wrong oil. Oils with low smoke points burn before they polymerise correctly.
- Rushing the process. Trying to build seasoning in one long session instead of multiple short cycles produces inferior results.
- Returning to acidic recipes too quickly. Cooking a tomato sauce the day after restoration will undo your work before the seasoning has time to harden.
“Acidic foods and harsh cleaning agents are the primary causes of seasoning breakdown.” This point is well established in expert pan reviews, including the Matfer Bourgeat carbon steel pan review, which documents how quickly vinegar-based recipes strip fresh seasoning.
For troubleshooting specific issues:
| Problem | Likely cause | Fix |
|---|---|---|
| Blotchy, uneven seasoning | Too much oil applied | Salt scrub + restart layering |
| Ongoing sticking after restoration | Layers too thin | Add two more seasoning cycles |
| Persistent smell after seasoning | Oil gone rancid | Strip, clean thoroughly, re-season |
| Rust returning quickly | Incomplete drying | Heat pan fully before oiling |
For prevention, build a simple weekly routine. After each cook, rinse with warm water, dry on the hob, and apply a very light wipe of oil before putting the pan away. You can find additional carbon steel care tips in our full care guide, and for pan-specific issues, our article on repairing seasoning issues goes deeper into targeted fixes.
After cooking acidic dishes, inspect the surface the following day. If it looks dull or feels slightly tacky, run through one quick seasoning cycle before your next cook. That small habit prevents the full restoration process from ever being necessary again.
What most guides miss: the art of gradual seasoning for lasting nonstick
Most restoration guides treat seasoning as a task to complete, a box to tick before cooking. That framing misses something important. Seasoning is not an endpoint; it is an ongoing relationship between cook, pan, and heat.
Professional kitchen cooks know that a pan cared for across hundreds of sessions outperforms one that was aggressively seasoned in a single afternoon. The best nonstick surfaces come not from heroic restoration efforts but from consistent, low-effort maintenance: thin layers of oil after each use, fatty proteins cooked regularly, and no soaking.
Quick-fix hacks, such as coating the pan heavily in flaxseed oil and baking for hours, often produce flaky, brittle layers that peel off faster than they form. Slow and steady wins here. Cook bacon. Fry an egg. Sauté greens with butter. Each session adds a fraction of a layer, and those fractions accumulate into something genuinely impressive. Our guide on lasting performance care explains this long-game approach in full. Treat your carbon steel pan as a tool that improves with use, not one that needs to be fixed.
Restore your pan with trusted carbon steel specialists
For those ready to take their pan care further, specialised help and premium pans are just a click away.
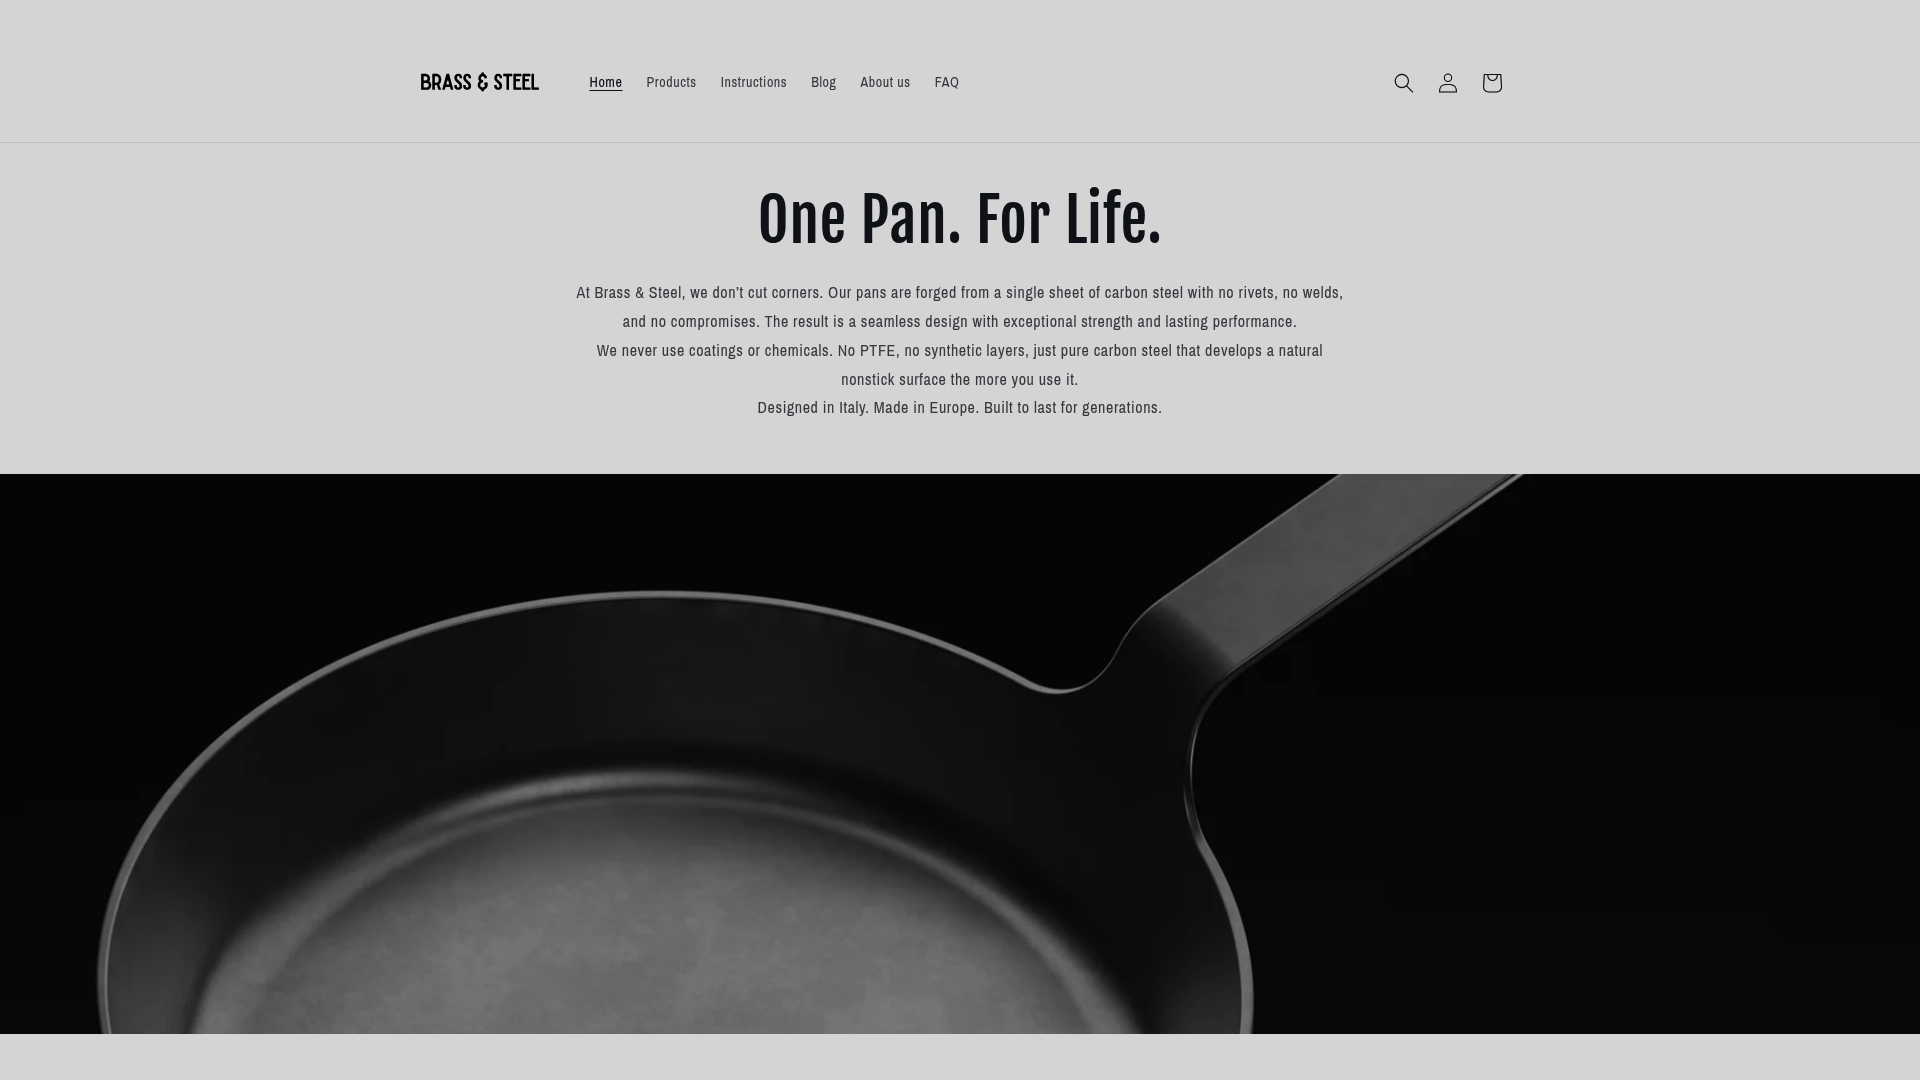
At Brass & Steel, we build our carbon steel sauté pans from a single forged sheet of steel, with no rivets, no coatings, and no PTFE. Every pan is designed to develop a better nonstick surface the more you use it. If your current pan is beyond saving, or you simply want a pan that starts from a stronger foundation, browse our range of professional-grade cookware. We also maintain a full library of care guides covering everything from first seasoning to restoring carbon steel performance after heavy use. Our team is available for any restoration questions you cannot find answered in our guides.
Frequently asked questions
How often should I re-season my carbon steel pan?
Re-season after cooking acidic foods or whenever you notice sticking or dull patches forming. As expert reviews note, acidic foods wear seasoning down faster than normal cooking, so keep an eye on the surface after dishes containing wine, tomatoes, or citrus.
Can I use soap to clean my nonstick carbon steel pan?
Mild soap is safe if you dry the pan immediately afterwards and apply a thin oil wipe before storing it. Harsh detergents used regularly will degrade seasoning over time, as improper cleaning methods are a well-documented cause of seasoning loss.
What oil is best for seasoning carbon steel pans?
Grapeseed, sunflower, avocado, and canola oil are all excellent choices due to their high smoke points. Avoid olive oil and butter for seasoning, as they break down at too low a temperature to polymerise correctly.
How do I fix blotchy or uneven seasoning?
Scrub the affected area gently with a coarse salt and oil paste, rinse, dry thoroughly, and then apply several fresh thin seasoning layers. Reviews confirm that a salt and oil paste is highly effective for levelling uneven build-up before re-layering.
Is it normal for my pan to smell after seasoning?
A slight smoky or oily odour after seasoning is completely normal and fades with regular use. If the smell is acrid or rancid, strip the pan back and re-season using a fresh, high-quality oil.