

How to season stainless steel pan for better cooking
Many home cooks struggle with food sticking stubbornly to stainless steel pans, turning simple cooking tasks into frustrating battles. Seasoning your stainless steel cookware creates a temporary nonstick surface that improves food release and simplifies cleanup. This guide walks you through the complete process, from selecting the right oils to maintaining your seasoned pan for consistently better cooking results.
Table of Contents
- Introduction To Seasoning Stainless Steel Pans
- What You Need Before You Start: Tools And Oils
- Step-By-Step Seasoning Process
- Maintenance And Re-Seasoning Tips
- Common Mistakes And How To Fix Them
- Expected Results And How To Know You Did It Right
- Discover Quality Cookware And Expert Guides
- FAQ
Key takeaways
| Point | Details |
|---|---|
| Creates temporary nonstick surface | Seasoning fills micro-pores with polymerised oil, improving food release significantly. |
| Choose high smoke-point oils | Grapeseed, avocado, sunflower, or canola oils work best; avoid olive oil. |
| Apply thin layers correctly | Heat oil to smoke point, wipe excess thoroughly for optimal results. |
| Avoid common errors | Too much oil creates sticky residue; use gentle cleaning to preserve coating. |
| Re-season regularly | Repeat process 2-3 times yearly to maintain nonstick properties. |
Introduction to seasoning stainless steel pans
Stainless steel pans lack the natural nonstick properties found in other cookware materials, causing foods to stick and bond to the surface during cooking. Unlike cast iron or carbon steel, stainless steel wasn’t designed to hold seasoning permanently, but applying a temporary coating delivers noticeable benefits.
Seasoning works by filling microscopic pores in the pan’s surface with polymerised oil molecules. This creates a smoother, relatively nonstick surface that improves food release and reduces frustrating sticking during cooking. The layer acts as a barrier between your ingredients and the metal, making delicate foods like eggs and fish easier to manage.
The key difference from carbon steel or cast iron seasoning is durability. Stainless steel seasoning requires regular reapplication because the surface doesn’t bond with oils as strongly. You’ll need to refresh the coating every few months rather than building up years of patina.
Benefits include:
- Easier cooking of delicate proteins without tearing or sticking
- Simplified cleanup requiring less scrubbing and elbow grease
- Extended periods between deep cleaning sessions
- Reduced need for excessive cooking fats during meal preparation
Many cooks mistakenly believe seasoning stainless steel is pointless or impossible. The truth is more nuanced: whilst the coating won’t last as long as properly seasoned carbon steel, it delivers tangible improvements worth the minimal effort required.
What you need before you start: tools and oils
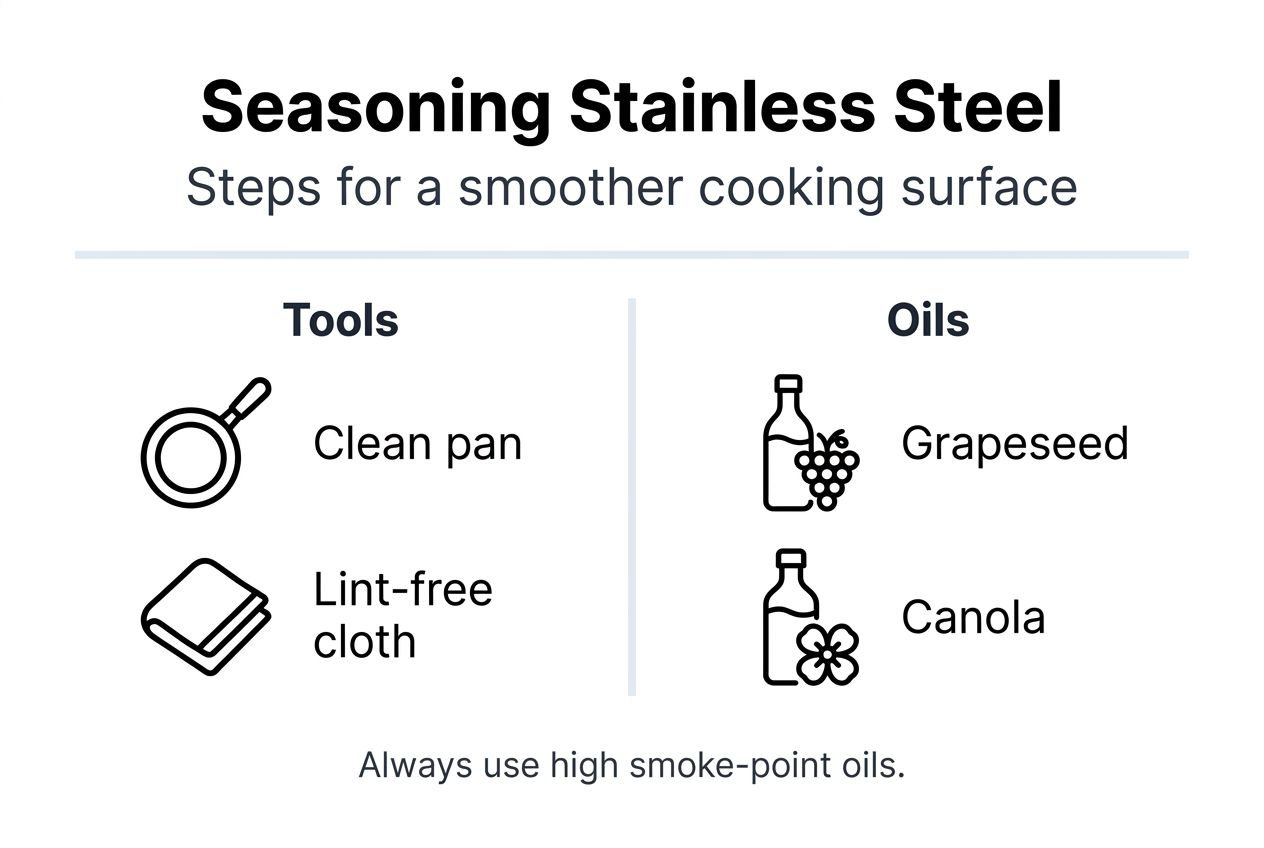
Proper preparation sets the foundation for successful seasoning. Start with a completely clean, dry pan free from manufacturing residues, old food particles, or moisture that could interfere with oil bonding.
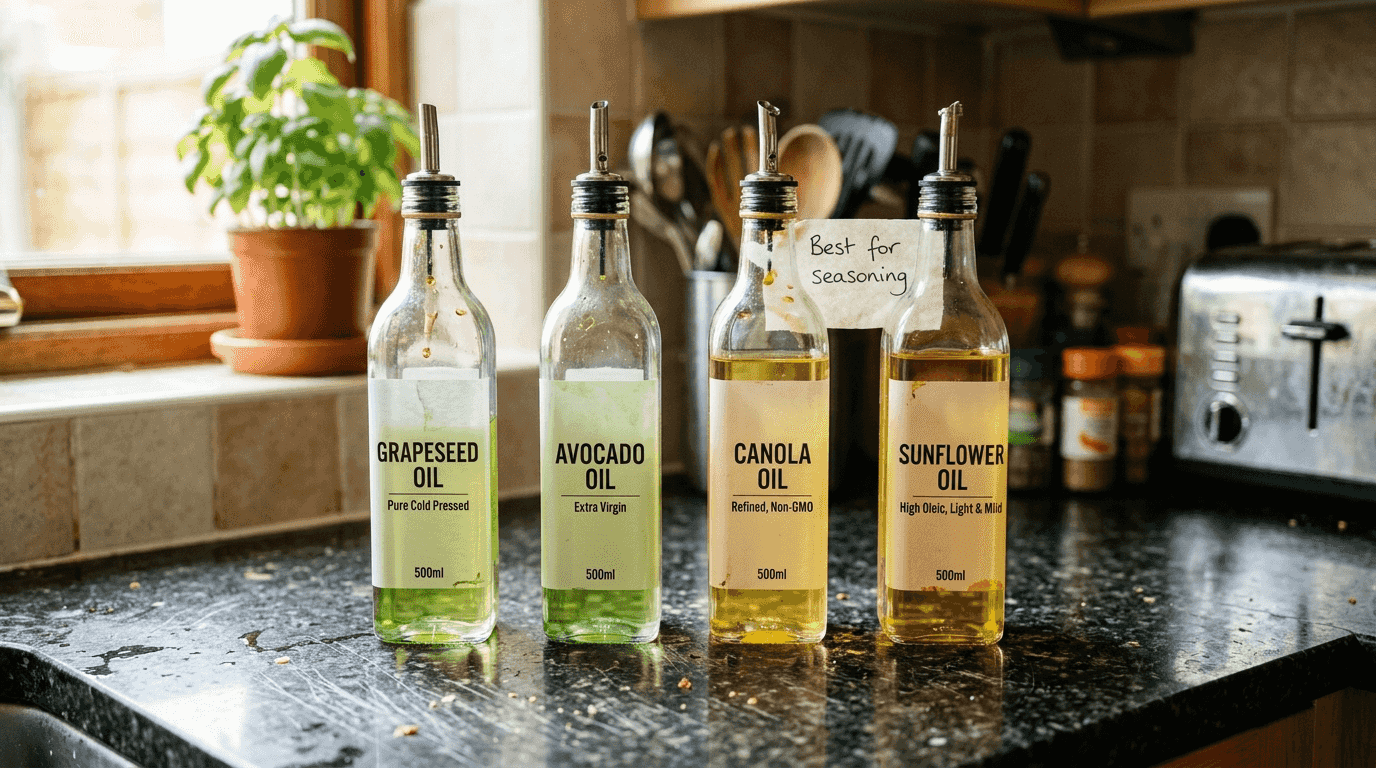
The most critical choice is your oil. High smoke-point oils like grapeseed, avocado, sunflower, and canola work brilliantly because they withstand the necessary heat without burning. Low smoke-point options like olive oil or butter break down prematurely, leaving burnt residues that create uneven, sticky surfaces.
| Oil Type | Smoke Point | Best For |
|---|---|---|
| Grapeseed | 216°C (421°F) | Neutral flavour, consistent results |
| Avocado | 271°C (520°F) | Highest heat tolerance available |
| Sunflower | 232°C (450°F) | Budget-friendly, readily available |
| Canola | 204°C (400°F) | Affordable everyday option |
| Olive Oil | 191°C (375°F) | Avoid for seasoning |
You’ll also need a reliable medium heat source, either your stovetop or oven, depending on your preferred method. Consistent, controllable heat ensures even oil polymerisation across the entire cooking surface.
Gather lint-free cloths or paper towels for applying oil. Regular kitchen towels leave fibres that interfere with seasoning, whilst lint-free options apply smooth, even coats. Keep several on hand for both application and excess removal.
If you’re interested in cookware that develops permanent nonstick properties through seasoning, explore our carbon steel seasoning guide for techniques that build lasting patinas.
Step-by-step seasoning process
Follow these precise steps to create an effective temporary nonstick surface on your stainless steel pan:
-
Wash thoroughly - Clean the pan with warm, soapy water to remove any factory coatings, dust, or residues. Rinse completely and dry with a clean towel.
-
Preheat properly - Place your dry pan on medium heat for 2-3 minutes. This opens the metal’s microscopic pores, allowing better oil penetration and bonding.
-
Apply thin oil layer - Pour a small amount of your chosen high smoke-point oil onto a lint-free cloth. Rub a very thin, even layer across the entire cooking surface, including slightly up the sides.
-
Heat to smoke point - Continue heating until the oil just begins to smoke, indicating polymerisation is occurring. Remove from heat immediately when you see the first wisps.
-
Cool completely - Let the pan cool naturally at room temperature. Rushing this step with cold water risks warping the metal and damaging your new seasoning.
-
Wipe excess - Once cool, use a fresh lint-free cloth to buff away any remaining oil. The surface should show only a subtle sheen, not visible oil pools.
-
Repeat for durability - Perform the entire process 1-2 additional times. Multiple thin layers create a stronger, more durable nonstick coating than one thick application.
Pro Tip: Work in a well-ventilated space with your extractor fan running. Oil smoke, whilst necessary for seasoning, can trigger smoke alarms and create unpleasant odours if trapped indoors. Watch your heat carefully to avoid burning the oil, which creates sticky residues rather than smooth seasoning.
The entire process takes about 45 minutes for three complete rounds. Patience pays off with noticeably improved cooking performance. For guidance on maintaining similar coatings long-term, review techniques for re-seasoning carbon steel or repairing damaged seasoning.
Maintenance and re-seasoning tips
Preserving your seasoned surface requires minimal effort but consistent habits. Proper care extends the time between full re-seasoning sessions whilst maintaining optimal nonstick performance.
Clean with warm water only, avoiding soaps and detergents that strip away the oil layer you’ve carefully built. For stuck-on food, use a soft sponge or brush rather than abrasive scrubbers that damage seasoning.
Dry your pan immediately after washing. Even stainless steel can develop water spots or residue buildup if left wet. Towel dry thoroughly, then place briefly on low heat to evaporate any remaining moisture.
After each use, apply a light coat of oil whilst the pan is still slightly warm. This builds up the seasoning gradually with normal cooking, reducing how often you need complete re-seasoning sessions. A quick wipe with an oiled cloth takes seconds but delivers cumulative benefits.
Plan to repeat the full seasoning process 2-3 times yearly or whenever you notice the nonstick effect diminishing. Signs include increased sticking, food requiring more fat to cook cleanly, or a dull rather than subtly glossy surface.
Key maintenance practices:
- Store pans in dry locations away from moisture
- Avoid temperature shocks like cold water on hot pans
- Use wooden or silicone utensils to prevent scratching
- Cook with adequate fats to protect the seasoning layer
Pro Tip: Avoid steel wool, metal scouring pads, or harsh abrasive cleaners entirely. These tools remove seasoning in seconds, forcing you back to square one. Gentle cleaning preserves your work for months longer.
For comprehensive upkeep strategies that apply to all seasoned cookware, explore our carbon steel maintenance guide covering similar principles in greater depth.
Common mistakes and how to fix them
Even experienced cooks make errors when seasoning stainless steel for the first time. Understanding these pitfalls helps you avoid frustration and wasted effort.
Using too much oil ranks as the most frequent mistake. Excess oil doesn’t polymerise properly, instead forming sticky or gummy residue that makes cooking worse rather than better. The fix is thorough wiping after application. Your cloth should come away nearly dry, leaving only the thinnest possible film.
Low smoke-point oils like olive oil or butter create burnt, uneven layers during heating. These oils break down before reaching polymerisation temperature, leaving acrid smells and poor coverage. Always choose oils rated above 204°C (400°F) to ensure proper chemical transformation.
Overheating damages both pan and seasoning. Heating beyond the initial smoke point burns oil molecules rather than bonding them, creating carbonised spots instead of smooth coating. Remove from heat immediately when you see the first smoke wisps.
Aggressive cleaning tools strip seasoning faster than normal cooking wear. Metal scourers, harsh chemicals, and dishwashers remove the oil layer you’ve built, forcing complete re-seasoning. Stick to soft sponges and warm water for daily cleaning.
Common errors to avoid:
- Applying oil when pan is cold rather than preheated
- Skipping the cooling phase and handling hot pans prematurely
- Using the same oily cloth for multiple rounds without refreshing
- Expecting permanent results like carbon steel develops naturally
If you’ve created sticky residue, scrub it away with warm water and a non-abrasive brush, then start over with a thinner oil application. For burnt spots, gentle scrubbing followed by proper re-seasoning solves the problem.
For troubleshooting more complex seasoning issues, particularly with cookware designed for permanent patinas, review our carbon steel troubleshooting guide covering repairs and fixes.
Expected results and how to know you did it right
Successful seasoning delivers immediately noticeable improvements to your cooking experience. The pan’s surface transforms from sticky and grabby to smooth and relatively slippery.
Visually, you’ll see a subtle shiny finish across the cooking surface. The metal takes on a slight sheen rather than the flat, matte appearance of unseasoned stainless steel. This glossy look indicates proper oil polymerisation.
During cooking, food releases more easily with less force required. Eggs slide rather than tear, fish fillets lift cleanly without leaving skin behind, and delicate vegetables move freely rather than bonding to the metal. You’ll use less cooking fat whilst achieving better results.
Cleanup becomes noticeably simpler. Food residues wipe away with basic rinsing rather than requiring aggressive scrubbing. You’ll spend less time at the sink and use fewer harsh cleaning products.
Key indicators of proper seasoning:
- Surface feels smooth rather than rough or grabby to touch
- Water beads and rolls across the pan instead of spreading
- Cooking requires less oil or butter than previously
- Residues lift easily during washing without soaking
Remember that seasoning remains temporary and requires regular maintenance. Unlike carbon steel that develops permanent patinas through years of use, stainless steel seasoning lasts weeks or months before needing refreshing.
Set realistic expectations about longevity. You’re creating a helpful temporary coating, not transforming the fundamental nature of your cookware. Regular light maintenance between full re-seasoning sessions keeps performance consistent.
The effort invested pays dividends in easier cooking and cleaning whilst you decide whether to explore cookware materials that hold seasoning permanently.
Discover quality cookware and expert guides
Whilst seasoning improves stainless steel performance temporarily, some cooks prefer cookware designed from the ground up for natural nonstick properties through permanent seasoning. Our quality cookware collection features carbon steel pans that develop lasting patinas, eliminating repeated seasoning cycles.
Explore our comprehensive carbon steel seasoning guide for detailed instructions on building permanent nonstick surfaces. Carbon steel combines the heat performance serious cooks demand with naturally developing patinas that strengthen with every use.
FAQ
How often should I season my stainless steel pan?
Season stainless steel pans 2-3 times per year or whenever you notice increased sticking during cooking. Regular light oiling after each use extends the time between full seasoning sessions. Heavy use or aggressive cleaning may require more frequent reapplication.
Which oils are best for seasoning stainless steel pans?
Use oils with smoke points above 204°C (400°F) like grapeseed, avocado, canola, or sunflower oil for reliable results. Avoid olive oil or butter due to low smoke points that cause burning and uneven coating. Higher smoke-point oils polymerise properly without breaking down.
What should I do if my pan’s seasoning becomes sticky or gummy?
Scrub the pan gently with warm water and a non-abrasive brush to remove sticky residue completely. Dry thoroughly, then repeat the seasoning process using a thinner oil layer. The stickiness typically results from excess oil that didn’t polymerise correctly.
Is seasoning stainless steel pan necessary if I have nonstick cookware?
Seasoning stainless steel is optional but enhances performance by reducing sticking and easing cleanup significantly. It’s especially beneficial for cooking delicate proteins like fish or eggs without switching pans. Many cooks prefer seasoned stainless steel over chemical nonstick coatings for health reasons.