Carbon Steel Pan Troubleshooting Guide for Lasting Results

Switching from nonstick to carbon steel can be a challenge for European home cooks who want both professional results and long-lasting cookware. Understanding what your pan surface is telling you is the first step to making the most of this high-performance material. With a focus on recognising how the steel reacts to seasoning and use, you will learn how to confidently diagnose surface problems and why a detailed pan history matters for effective troubleshooting.
Table of Contents
- Step 1: Prepare Your Pan For Optimal Troubleshooting
- Step 2: Identify And Address Seasoning Problems
- Step 3: Clean And Restore Natural Nonstick Performance
- Step 4: Verify Pan Condition And Test Results
- Step 5: Maintain Your Pan To Prevent Future Issues
Quick Summary
| Essential Insight | Explanation |
|---|---|
| 1. Assess your pan’s condition | Examine the surface texture and appearance to identify issues. Document your findings for accurate troubleshooting. |
| 2. Identify specific seasoning issues | Sticky, dull, or flaky surfaces indicate distinct problems. Recognising these helps determine the right corrective actions. |
| 3. Restore nonstick surfaces effectively | Clean thoroughly using appropriate methods based on the severity of seasoning loss to revive nonstick performance. |
| 4. Test results after restoration | Perform visual and cooking tests to ensure the pan is functioning correctly after restoration and adjustments. |
| 5. Establish a maintenance routine | Regularly clean and lightly oil your pan after each use to prevent rust and maintain seasoning integrity. |
Step 1: Prepare your pan for optimal troubleshooting
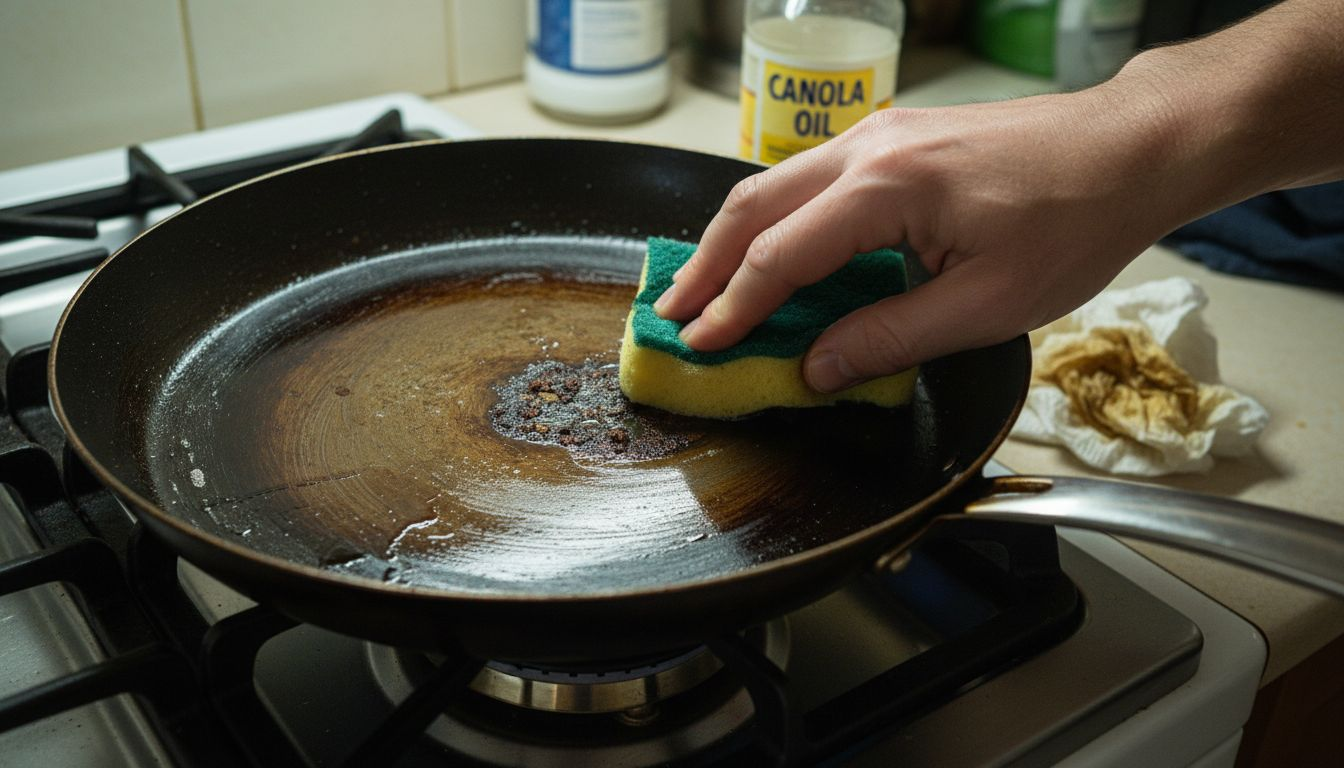
Before you can properly diagnose what’s wrong with your carbon steel pan, you need to understand what you’re actually looking at. Start by examining your pan under good light and running your hand across the surface to get a feel for its condition. Is it sticky? Dull? Showing signs of rust? These clues tell you everything about what went wrong and how to fix it. Understanding carbon steel surfaces helps you recognise how the steel reacts to seasoning and use, which is crucial when you’re trying to pinpoint the problem.
Next, gather information about your pan’s history. How long have you owned it? What oils have you used for seasoning? How often do you cook with it, and what foods have you prepared? Think about any sudden changes in how the pan performs. Did it become sticky after a particular cooking session? Did you accidentally leave it soaking in water? These details matter because troubleshooting requires clearly defining the problem and collecting data about your pan’s condition and history. Write down what you observe. A sticky surface means something different from a rust spot, and your solution depends on correctly identifying which issue you’re facing. Once you’ve documented the current state of your pan and its background, you’re ready to move toward fixing it. This preparation step saves you time and prevents you from applying the wrong fix to the wrong problem.
Pro tip: Take a photo of your pan’s surface before you start troubleshooting. Comparing photos over time helps you track whether your fix is actually working, and it gives you a clear record of how the seasoning develops with each cooking session.
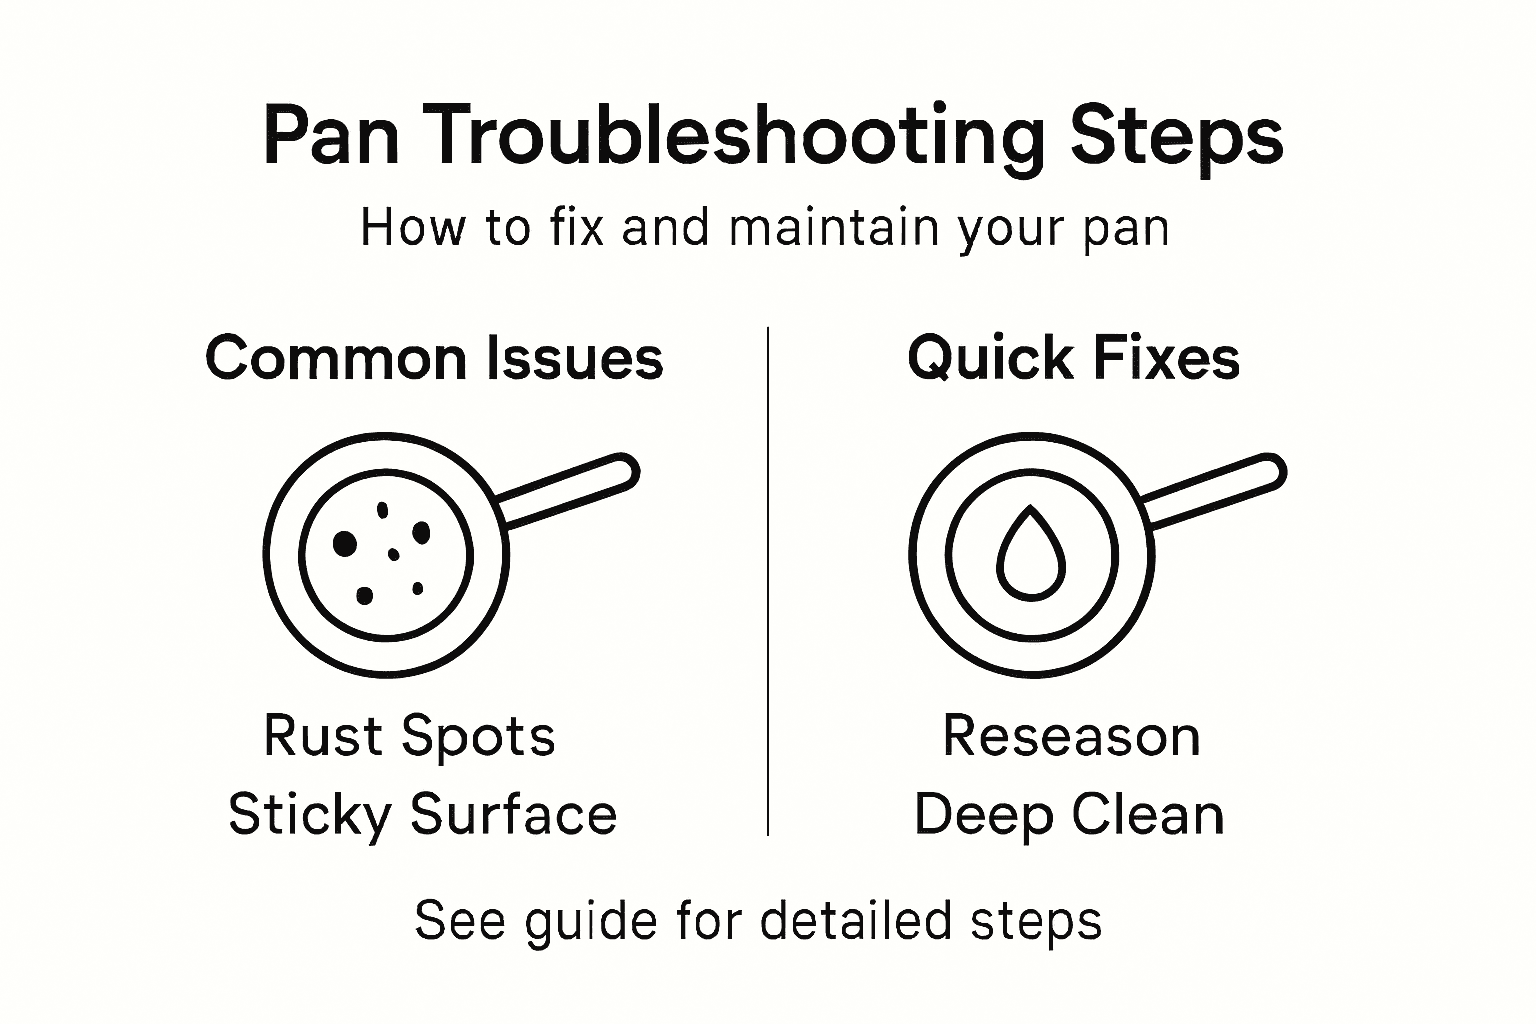
Step 2: Identify and address seasoning problems
Your pan’s seasoning is what makes it non-stick and protects it from rust, so when something goes wrong with it, you’ll notice right away. Common problems show themselves in obvious ways. A sticky surface means you’ve applied too much oil during seasoning or cooking. A dull, patchy appearance suggests uneven coating or insufficient layers. Flaking or peeling indicates the seasoning didn’t bond properly to the steel. Rust spots mean moisture got to the bare metal, usually from improper cleaning or storage. Seasoning problems often arise from improper cleaning before seasoning, insufficient layers, or overheating), so identifying which issue you’re facing tells you exactly how to fix it.
Here is a comparison of common carbon steel pan surface issues and their main causes for quick diagnosis:
| Surface Issue | Likely Cause | Typical Appearance |
|---|---|---|
| Sticky | Too much oil applied | Tacky or gummy surface |
| Dull/Patchy | Insufficient or uneven layers | Pale or inconsistent areas |
| Flaking/Peeling | Poor seasoning adhesion | Loose flakes or chips |
| Rust | Exposure to moisture | Red or orange spots |
| Rough texture | Incomplete cleaning | Slightly abrasive patches |
Once you’ve identified your specific problem, the solution follows logically. For a sticky surface, you’ll need to scrub off the excess oil buildup with warm soapy water and a stiff brush, then start fresh with a thinner application. For dull or uneven seasoning, remove the old residue completely by scrubbing thoroughly, then apply a thin, even coat of high-smoke-point oil like grapeseed or avocado oil, and heat it properly to polymerise the surface. For flaking or peeling, you’re essentially rebuilding from scratch. Strip the pan back to bare metal if necessary, clean it thoroughly, and apply thin even coats of oil with heat to create multiple layers that build a durable, nonstick surface through gradual use and maintenance. For rust, scrub it away with a stiff brush or fine steel wool, dry completely, and re-season immediately. The key across all these problems is patience and thin layers rather than thick, heavy coatings.
Use this table to understand the effects of different oils used in seasoning:
| Oil Type | Smoke Point | Seasoning Result |
|---|---|---|
| Grapeseed | High (approx. 215°C) | Durable, neutral coating |
| Avocado | Very high (270°C) | Hard, resilient finish |
| Sunflower | High (225°C) | Smooth, light surface |
| Olive | Moderate (190°C) | Softer, less robust layer |
| Flaxseed | High (225°C) | Brittle if overused |
Pro tip: Keep seasoning sessions short and mild at first after addressing a problem. Rather than one aggressive oven seasoning, do three or four gentle rounds at lower temperatures to build seasoning gradually and avoid uneven coating or flaking.
Step 3: Clean and restore natural nonstick performance
Your carbon steel pan’s nonstick quality comes from the seasoning you’ve built up, not from any synthetic coating. When this surface degrades, the pan loses its slickness and becomes frustrating to cook with. The good news is that restoring it is entirely within your control. Start by assessing how badly the seasoning has deteriorated. If the surface still has some shine but feels rough or sticky, you need a gentle cleaning. If it looks dull and bare in spots, you’re rebuilding. Restoring the natural nonstick surface requires removing debris, rust, and degraded seasoning layers through scrubbing with nonabrasive tools, so your cleaning method depends on what you’re dealing with.
For routine restoration, wash your pan with warm water and a small amount of mild dish soap, using a soft brush or cloth to gently scrub away food residue and any stuck-on bits. Rinse thoroughly and dry immediately with a clean cloth. Do not soak the pan or leave it wet, as moisture is what causes rust and degrades seasoning. Once dry, apply a very light coating of high-smoke-point oil like grapeseed or avocado oil, buffing it to an almost dry shine. If the seasoning is more severely compromised, you’ll need more aggressive action. Use a stiff brush or fine steel wool to scrub the pan down to bare metal, then wash thoroughly with soapy water to remove all metal particles and residue. Dry completely, then rebuild the polymerised nonstick layer through controlled heating and oil application to restore optimal performance. This means applying a thin coat of oil and heating it in a 250°C oven for 30 minutes, repeating this process two or three times to build a strong base.
Pro tip: Clean your pan immediately after use while it’s still warm. Warm water rinses away food residue far more easily than cold water, and you’ll spend less time scrubbing and risk less damage to your developing seasoning.
Step 4: Verify pan condition and test results
Now that you’ve cleaned and restored your pan, you need to confirm that your work actually paid off. Testing your pan’s condition tells you whether your troubleshooting efforts were successful or whether you need to adjust your approach. This isn’t complicated. You’re simply checking whether the pan now performs the way it should. Surface property analyses including texture, morphology, and polymerised layer integrity help confirm seasoning effectiveness, and fortunately you can do most of this assessment using your senses and basic kitchen tests.
Start with a visual inspection under good light. Does the pan have an even, dark shine across the cooking surface? Are there any dull patches, rust spots, or sticky residue remaining? Run your hand across the surface. It should feel smooth and slightly slick, not rough or gritty. Next, perform a simple water test. Tilt your clean, dry pan slightly and drop a small bead of water on the surface. If the water beads up and rolls off easily, your seasoning is working. If it spreads out and sits flat, you need more seasoning layers. Finally, do a cooking test. Heat the pan to medium temperature with a small amount of oil and cook something simple like an egg or a piece of chicken. Does food slide easily without sticking? Does it brown evenly? Does the pan heat uniformly, or are there hot spots? These practical tests reveal far more about your pan’s true condition than any complex analysis. If your pan passes these tests, congratulations. Your troubleshooting worked. If it doesn’t, review which test failed. Sticking food means you need lighter oil application. Uneven browning suggests the pan wasn’t cleaned properly or needs more seasoning layers. Dull appearance means you need additional seasoning rounds.
Pro tip: Keep a simple notebook or phone note documenting your pan’s condition before and after each troubleshooting session. Record what problems you fixed, which methods you used, and how long the results lasted. This creates a personal maintenance guide tailored to your specific pan and cooking style.
Step 5: Maintain your pan to prevent future issues
The troubleshooting you’ve just completed works only if you prevent the problems from coming back. Prevention is far easier than fixing, so establishing a simple maintenance routine after each use will keep your pan performing brilliantly for years. Think of maintenance as a few minutes of easy work now rather than hours of repair work later. Maintaining carbon steel pans involves careful handling and regular application of protective oils after cleaning to form a moisture barrier and inhibit oxidation, which is the foundation of keeping your pan problem free.
Your daily routine is straightforward. After cooking, whilst the pan is still warm, rinse it with hot water and use a soft brush or cloth to gently remove food residue. Use only a small amount of mild dish soap if needed, then rinse thoroughly and dry immediately with a clean cloth. This last step matters more than anything else because moisture is your enemy. Once the pan is completely dry, apply a very light coat of high-smoke-point oil like grapeseed or sunflower oil. Buff it so the pan looks almost dry, not greasy. This takes about 30 seconds and creates an invisible protective layer. Store your pan in a cool, dry place. Avoid stacking other cookware on top of it, and never leave it damp. If you cook with acidic foods like tomatoes or wine, the acidity can break down your seasoning, so reapply oil slightly more generously after these meals. Every few months, give your pan a deeper clean and re-season following the same process you used during troubleshooting. This refreshes the protective layer and keeps everything in top condition. Preventing corrosion requires maintaining protective polymerised oil layers and promptly drying your pan to help carbon steel resist rust and preserve cooking performance.
Pro tip: Keep a small bottle of your chosen seasoning oil next to your stove. This makes the post-cooking oiling step automatic and removes any excuse to skip it, turning maintenance from a chore into a genuine habit.
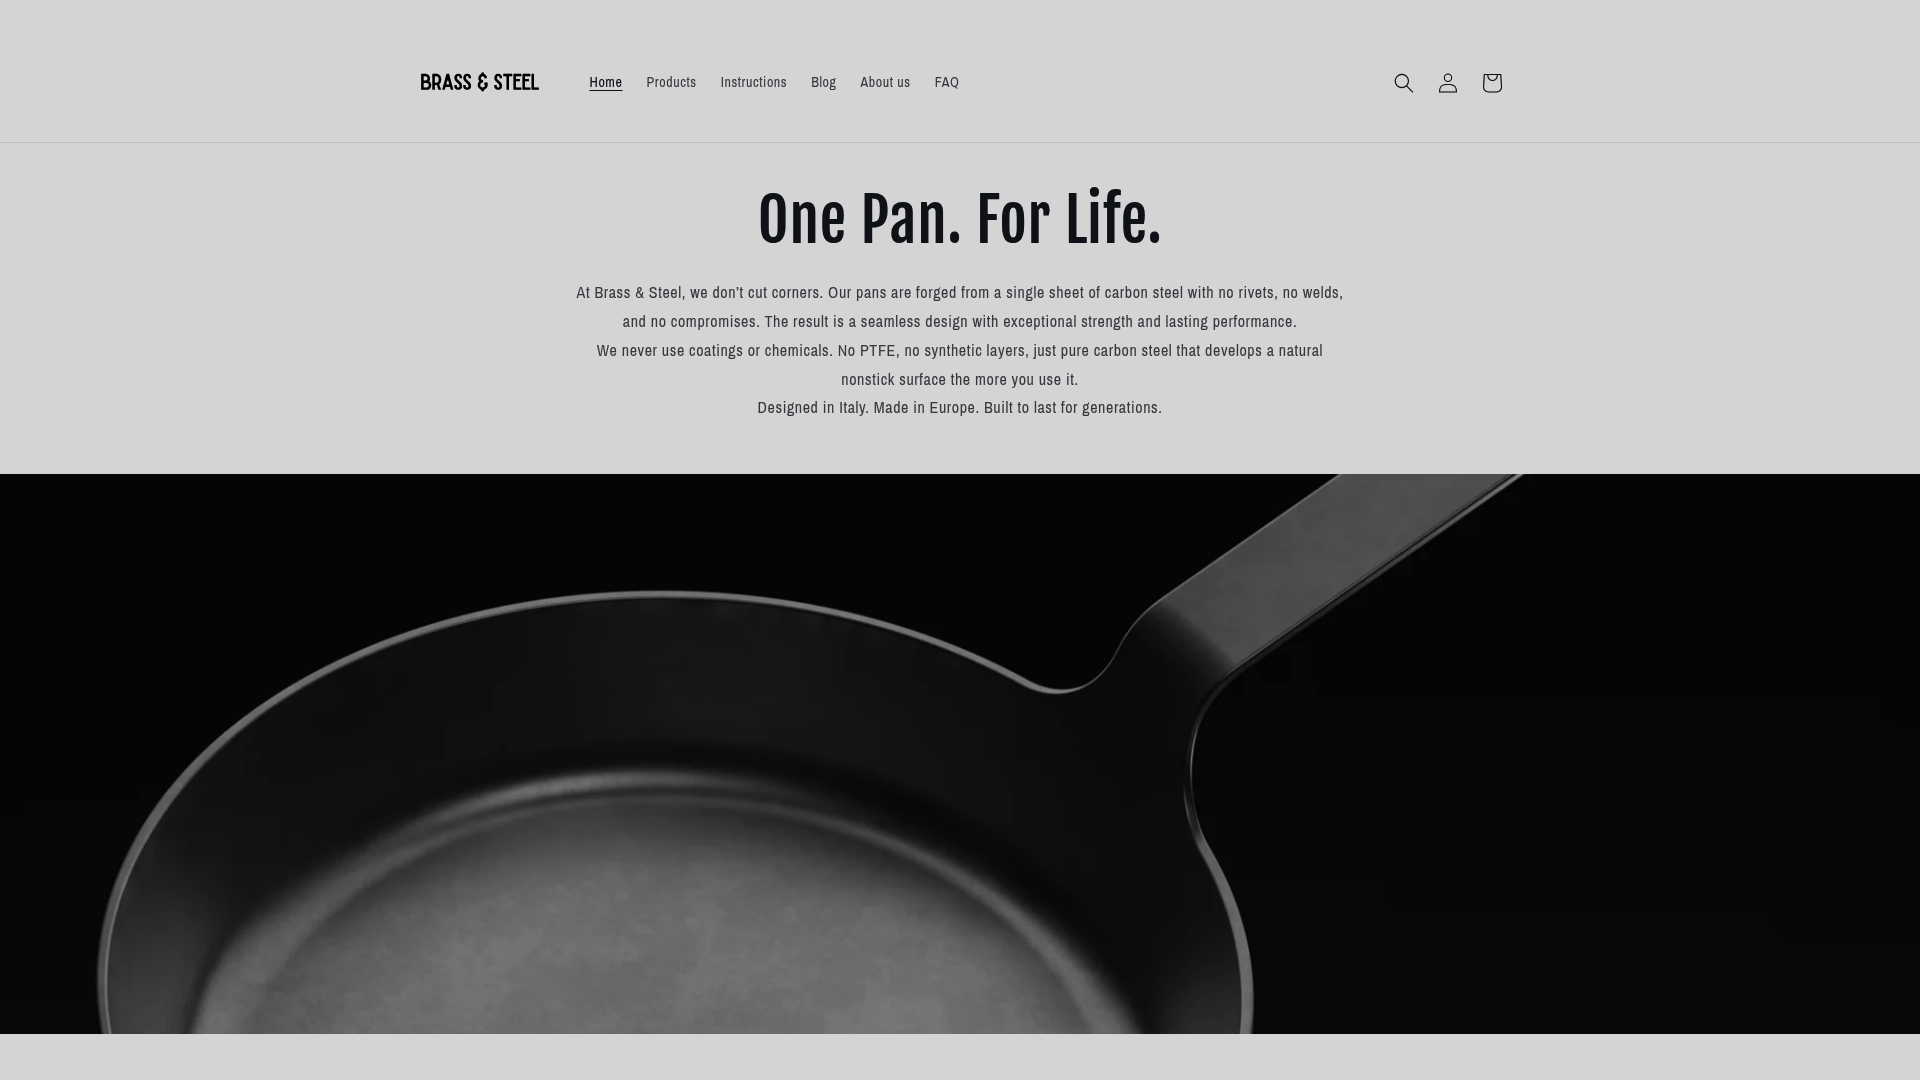
Invest in Durable Carbon Steel Cookware for Effortless Troubleshooting and Lasting Performance
If you have struggled with sticky seasoning, rust spots or uneven coating on your carbon steel pan the good news is that choosing the right cookware from the start makes all the difference. At Brass & Steel, our Carbon Steel Collection | Brass&Steel features expertly forged single-piece pans designed to build a natural nonstick patina that resists peeling and flaking. Our pans are crafted to ensure excellent heat retention and easy maintenance – helping you avoid common seasoning problems altogether.
Explore our range for heirloom quality pans that match your cooking passion and bring precision engineering into your kitchen. Visit https://brass-steel.com now and take the first step towards trouble-free carbon steel cooking. Don’t wait for frustration to build up. Upgrade today and make maintaining your pan a simple habit with expert guidance from our New arrivals – Brass & Steel. Reclaim the joy of cooking with cookware designed to last a lifetime.
Frequently Asked Questions
How can I tell if my carbon steel pan needs seasoning?
To determine if your carbon steel pan needs seasoning, look for a dull or patchy surface, stickiness, or visible rust. Assess the surface visually and by touch; if it feels rough or sticky, it likely requires a fresh layer of seasoning. Start by cleaning it thoroughly and then apply a thin coat of high-smoke-point oil.
What should I do if my carbon steel pan has rust spots?
If your pan has rust spots, scrub the affected areas with a stiff brush or fine steel wool until the rust is removed, then wash the pan with soapy water and dry it completely. Immediately re-season the pan to protect it from future rusting. Aim to re-season within 30 minutes of cleaning to prevent moisture buildup.
How do I restore the nonstick surface of my carbon steel pan?
To restore the nonstick surface, begin by determining the extent of seasoning degradation. For light deterioration, clean with warm water and a soft brush; for severe issues, scrub it back to bare metal before re-seasoning with thin layers of oil. Repeat this process to build up a durable nonstick layer over 2-3 seasoning sessions.
What is the best way to maintain my carbon steel pan after cooking?
After cooking, rinse your pan with hot water, using a soft brush to remove residue, and dry it immediately with a clean cloth to prevent rust. Apply a very thin coat of high-smoke-point oil to form a protective barrier. Perform this routine after each cooking session to ensure it remains in optimal condition.
How often should I re-season my carbon steel pan?
Re-season your carbon steel pan every few months or more frequently if you use it for cooking acidic foods. Regular maintenance and re-seasoning help maintain the nonstick surface and prevent rust. Set a reminder to check its condition and re-season at least every 2-3 months if you notice dullness or stickiness.
Recommended
- Best Practices for Carbon Steel Care: Expert Guide – Brass & Steel
- Cooking with Carbon Steel Step by Step: Mastering Techniques – Brass & Steel
- Carbon Steel Seasoning Checklist for Lasting Nonstick Performance – Brass & Steel
- Essential Carbon Steel Care Routines for Lasting Performance – Brass & Steel