
Ultimate Carbon Steel Pan Seasoning Guide for Perfect Results
Seasoning a carbon steel pan sounds like a mysterious chef’s ritual and yet it relies on straightforward science. Professional chefs will insist that proper preparation is half the battle, not just some fussy tradition. But most people do not realise that using too much oil in the first step actually ruins the whole process and gets you a sticky mess instead of a slick nonstick pan. The real secret? Less is more and a nearly invisible layer of oil is the difference between a pan you cherish for years and one that drives you mad every breakfast.
Table of Contents
- Step 1: Gather Your Tools And Ingredients
- Step 2: Clean The Carbon Steel Pan Thoroughly
- Step 3: Apply Oil Evenly To The Pan Surface
- Step 4: Heat The Pan To Bond The Oil
- Step 5: Allow The Pan To Cool And Repeat If Necessary
- Step 6: Verify The Seasoning Quality Before Use
Quick Summary
| Key Point | Explanation |
|---|---|
| 1. Gather essential tools and ingredients | Prepare high smoke point oils and cleaning tools to ensure an effective seasoning process for your carbon steel pan. |
| 2. Clean the pan thoroughly before seasoning | Use warm water and mild detergent to remove residues, ensuring a completely dry pan to prevent rust. |
| 3. Apply a thin, even layer of oil | Achieve a nearly transparent coating over the pan’s surface to create a durable, nonstick seasoning layer. |
| 4. Heat the pan properly to bond oil | Bake the pan upside down at 250 degrees Celsius to polymerise the oil, forming a protective layer. |
| 5. Verify seasoning quality before use | Check for uniform colour and smooth texture; conduct a cooking test to confirm nonstick properties are effective. |
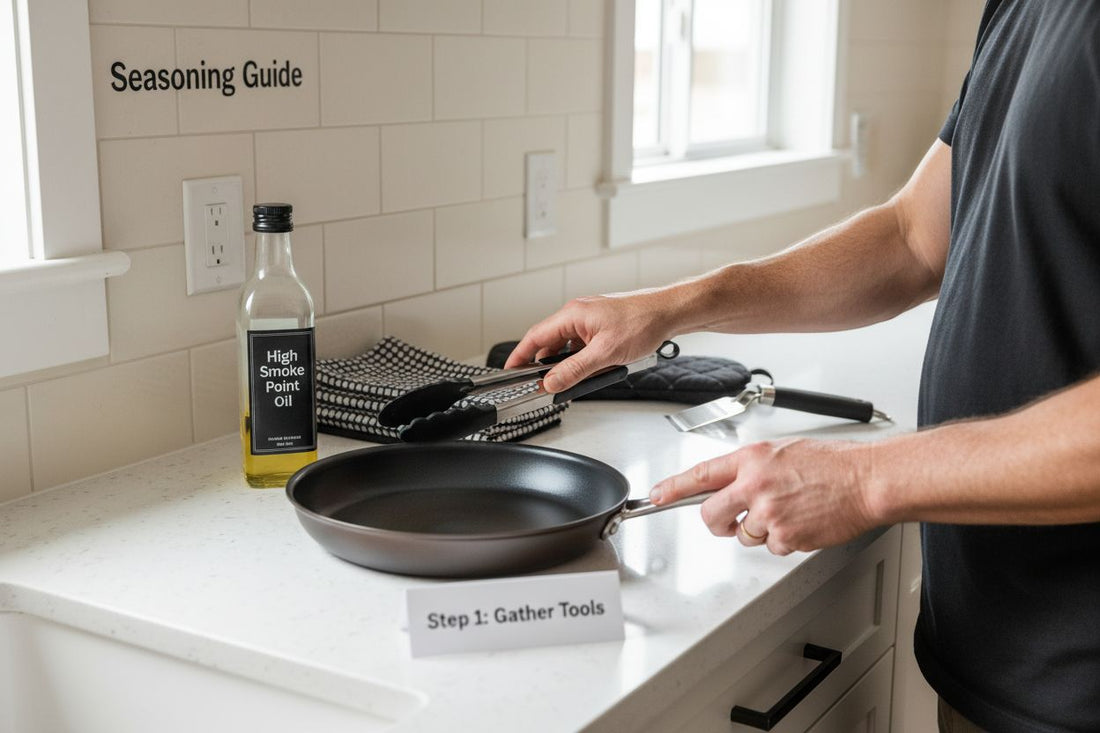
Step 1: Gather Your Tools and Ingredients
Successful carbon steel pan seasoning starts with careful preparation and selecting the right equipment. Before diving into the seasoning process, you need to assemble a comprehensive toolkit that will ensure your pan transforms into a beautifully seasoned cooking surface. Professional chefs know that proper preparation is half the battle when it comes to creating an exceptional seasoned carbon steel pan.
For this critical first step, you will need several specific items to guarantee a smooth seasoning experience. Your essential toolkit should include a high smoke point oil like grapeseed, avocado, or sunflower oil, which are ideal for creating a durable seasoning layer. You will also require some basic kitchen tools to support the process.
Here are the key items you must gather:
- Lint-free kitchen towels or paper towels
- Tongs or heat-resistant kitchen gloves
- High smoke point cooking oil
- Clean work surface near your oven
- Aluminium foil or large baking sheet
- Oven mitts
- Metal scraper or stiff brush (optional, for initial cleaning)
Before beginning, inspect your carbon steel pan carefully. Ensure it is completely clean and free from any manufacturing residues. If the pan has a protective coating, you will need to remove this thoroughly using hot water and mild detergent. Dry the pan completely using a lint-free cloth, paying special attention to removing all moisture to prevent potential rust formation.
Your goal in this preparatory stage is to create an environment and gather tools that will support a successful seasoning process. Learn more about professional kitchen cookware preparation to enhance your understanding of proper equipment management. By meticulously gathering these tools and preparing your workspace, you set the foundation for creating a carbon steel pan with a robust, naturally nonstick surface that will serve you in the kitchen for years to come.
Below is a summary table outlining the essential tools and materials required for successful carbon steel pan seasoning, including their purposes for each step of the process.
| Tool/Material | Specification/Type | Purpose |
|---|---|---|
| Lint-free kitchen towels | Cloth or paper | Removing moisture; wiping excess oil |
| Tongs or heat-resistant gloves | Heat-resistant | Handling hot pan safely |
| High smoke point oil | Grapeseed, avocado, sunflower | Creating the seasoning layer |
| Aluminium foil or baking sheet | Standard kitchen grade | Protecting oven from drips during seasoning |
| Oven mitts | Thick, protective | Removing hot pan from oven |
| Clean work surface | Near oven | Staging area for preparation |
| Metal scraper or stiff brush | Optional cleaning tool | Removing tough residues before first seasoning |
Step 2: Clean the Carbon Steel Pan Thoroughly
Cleaning your carbon steel pan is a critical step in preparing it for seasoning, and requires precision and care to ensure optimal results. Thorough cleaning removes any protective manufacturing coatings, industrial residues, and potential contaminants that could interfere with the seasoning process. Unlike other cookware, carbon steel demands a specific approach to cleaning that preserves its unique metal properties.
Begin by washing the pan with warm water and a mild, non-abrasive detergent. Use a soft sponge or cloth to gently remove any surface residues, being careful not to scrub aggressively. If there are stubborn spots or a manufacturing protective coating, you might need to apply slightly more pressure, but avoid using steel wool or harsh scrubbing pads that could damage the pan’s surface.
To tackle more challenging residues, create a paste using coarse salt and a small amount of water. Gently rub this mixture across the pan using circular motions, which will help lift any remaining debris without scratching the metal. Rinse thoroughly with warm water, ensuring no salt granules remain. This method provides a gentle yet effective cleaning technique that professional chefs often recommend.
After washing, dry the pan immediately and completely. Residual moisture can cause rapid rusting, which will compromise your seasoning efforts. Use a lint-free towel to pat the pan dry, then place it on a warm stovetop or in a low-temperature oven to eliminate any remaining moisture. The pan should look uniformly metallic with no water droplets or dull spots.
Here are key verification points to confirm your pan is properly cleaned:
- Surface appears uniformly metallic
- No visible residues or manufacturing coatings
- Completely dry with no water spots
- Slight metallic sheen is present
Explore our comprehensive guide on carbon steel pan maintenance to understand the nuanced care these remarkable cooking tools require. By meticulously cleaning your pan, you are setting the foundation for a robust seasoning that will develop a naturally nonstick surface and enhance your cooking experience.
Step 3: Apply Oil Evenly to the Pan Surface
The oil application stage is pivotal in creating a robust seasoning layer that will transform your carbon steel pan into a naturally nonstick cooking surface. Precision and technique matter more than the quantity of oil you use during this crucial step. Your goal is to create an ultra-thin, uniform coating that will polymerise and bond with the pan’s metal surface.
Choose oils with high smoke points like grapeseed, avocado, or sunflower oil. These oils provide excellent seasoning properties and create a durable protective layer. Avoid olive oil or animal fats, which can become sticky and develop unpleasant flavours during the seasoning process. Using a lint-free cloth or paper towel, pour a small amount of oil into the centre of the pan and begin spreading it methodically across every surface including the exterior and handle.
The key is achieving an almost imperceptibly thin layer of oil. Many home cooks make the mistake of applying too much oil, which results in a sticky, uneven surface. When you think you have applied enough, continue wiping until the pan looks almost dry. You should barely see any oil residue after thorough spreading. Your pan should look slightly shiny but not wet, with no pooling or dripping oil anywhere.
Carefully inspect the pan from multiple angles to ensure complete coverage. Pay special attention to corners, edges, and the pan’s exterior, which are often overlooked. Use your lint-free cloth to redistribute oil if you notice any thick patches or missed areas. The goal is a uniform, translucent coating that will create a smooth, protective seasoning layer.
Here are verification points for successful oil application:
- Surface appears uniformly and extremely lightly coated
- No visible oil droplets or pools
- Pan looks slightly shiny but not wet
- Oil coating is so thin it appears almost transparent
Explore our comprehensive guide on carbon steel pan seasoning techniques to refine your understanding of this critical process. Mastering this delicate oil application will set the foundation for a pan that develops exceptional nonstick properties and lasting durability.
Step 4: Heat the Pan to Bond the Oil
Heating your carbon steel pan is the transformative moment where the thin oil layer changes from a simple coating to a durable, protective seasoning. This process, called polymerisation, creates a molecular bond between the oil and the pan’s surface, turning your cookware into a naturally nonstick cooking companion. Precise temperature control and positioning are crucial during this delicate stage.
Preheat your oven to a consistent 250 degrees Celsius. Place an aluminium foil on the bottom rack to catch any potential oil drips, protecting your oven from mess. Position the pan upside down on the middle rack, which ensures even heat distribution and prevents oil from pooling. This inverted placement allows excess oil to drip away, creating the ultra-thin seasoning layer professional chefs aim for.
The heating process requires patience and attention. Bake the pan for approximately 30 to 45 minutes, which allows the oil to break down and form a hard, protective polymer layer. During this time, you might notice a slight smoking effect this is normal and indicates the oil is transforming. Ventilate your kitchen by opening a window, as the process can create some smoke depending on the oil used.
Once the time has elapsed, turn off the oven but do not remove the pan immediately. Allow it to cool gradually inside the oven, which helps the seasoning layer set properly. Sudden temperature changes can cause the seasoning to crack or become uneven. After the pan has cooled to a warm temperature, carefully remove it using oven mitts.
Here are verification points for successful pan heating and seasoning:
- Pan surface appears uniformly dark and slightly glossy
- No sticky or uneven patches
- Surface feels smooth to the touch
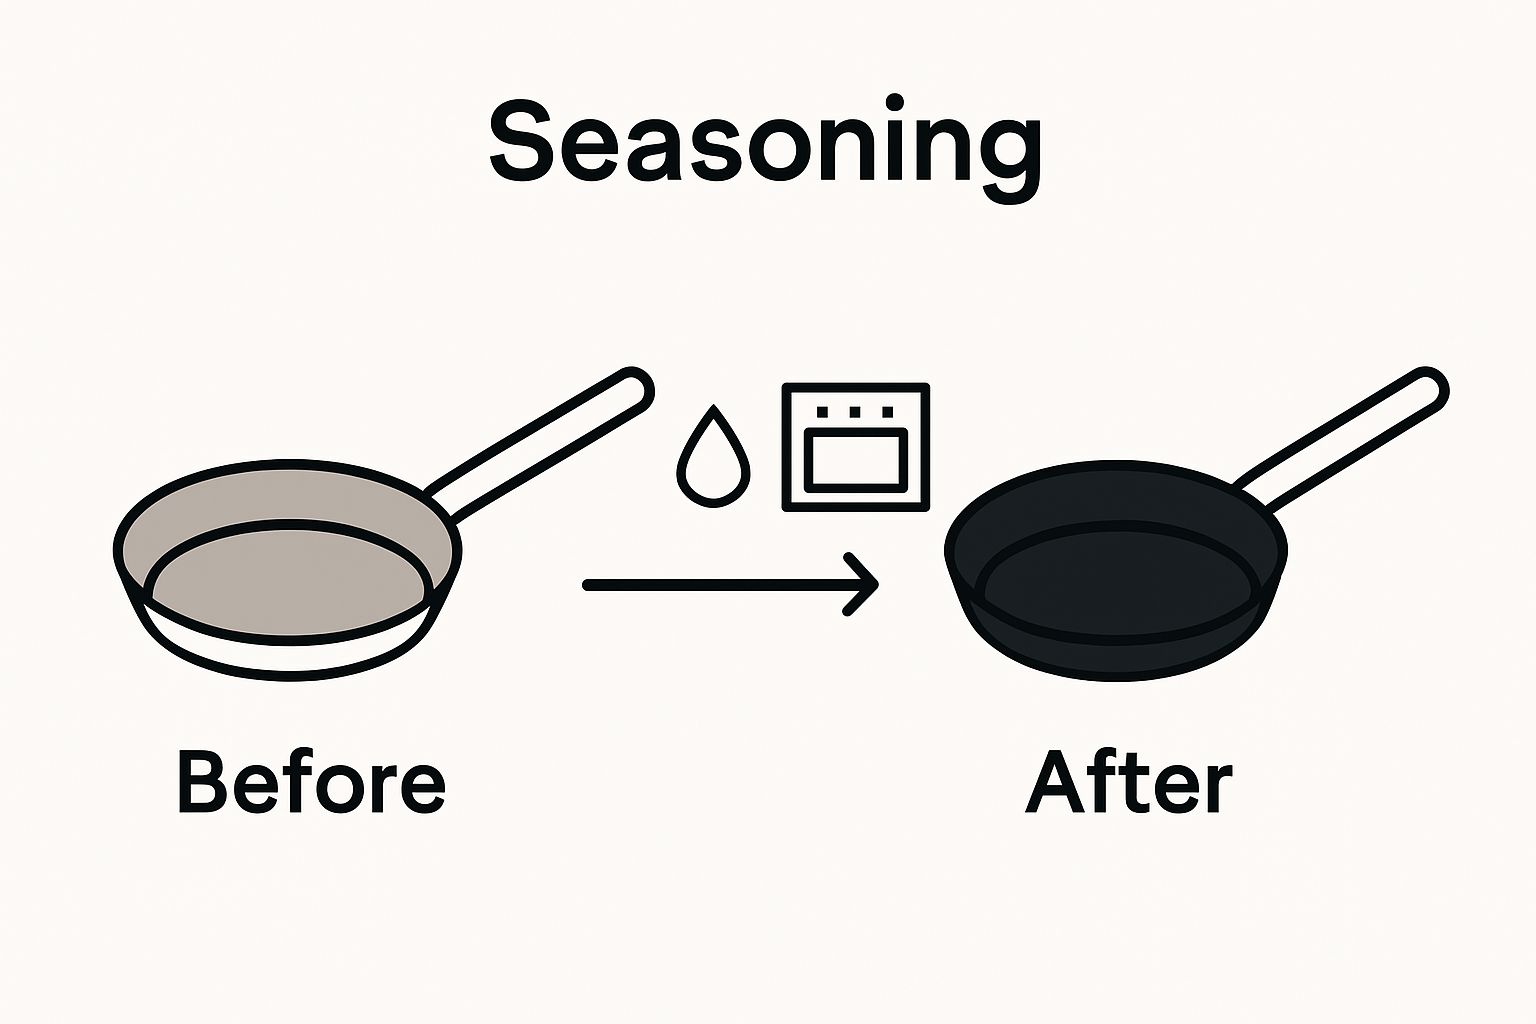
- Colour ranges from light bronze to dark brown
Discover advanced techniques for maintaining your carbon steel cookware to ensure long-lasting performance. By mastering this heating process, you are creating a pan that will develop better nonstick properties with each subsequent use, transforming your cooking experience.
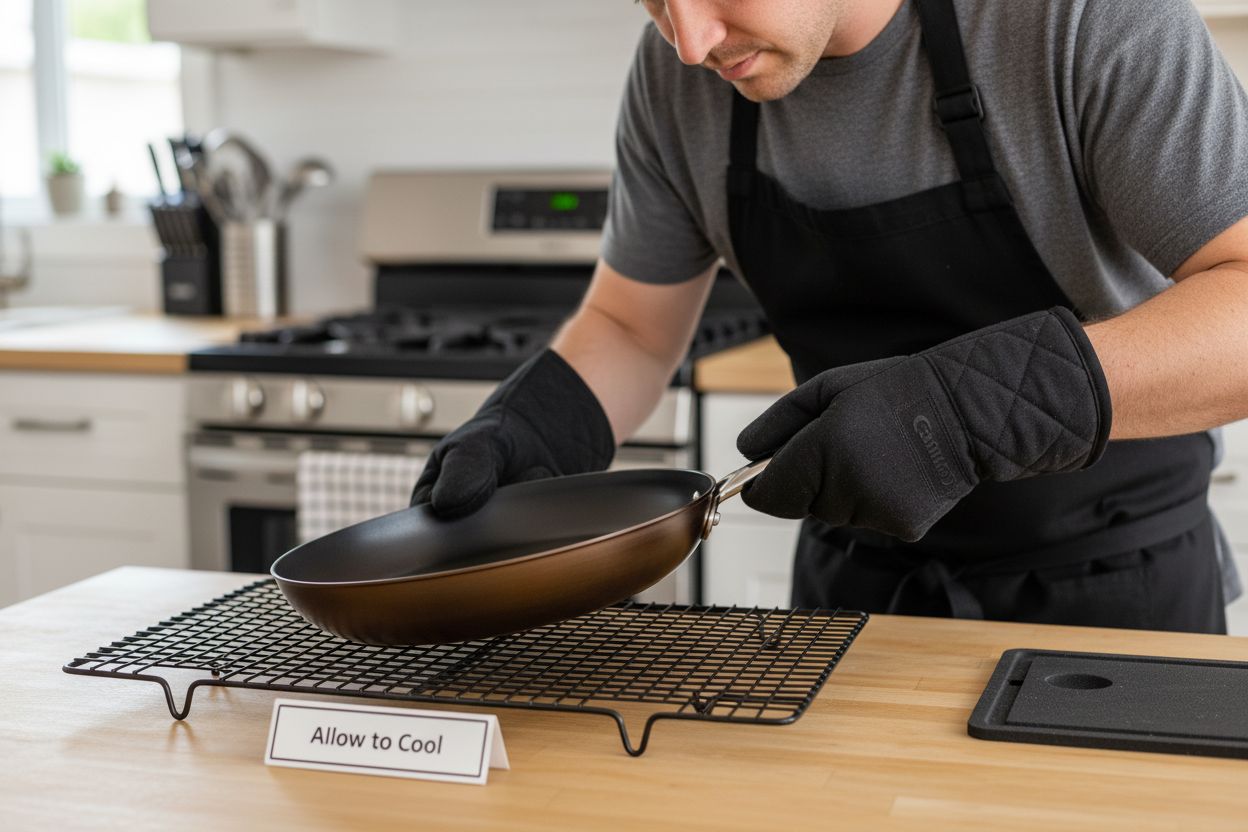
Step 5: Allow the Pan to Cool and Repeat if Necessary
Cooling your carbon steel pan after seasoning is a critical phase that determines the quality and durability of your pan’s protective layer. Patience is key during this process, as rushing can compromise the seasoning you have carefully built. The cooling stage allows the polymerised oil to settle and create a hard, protective surface that will become increasingly nonstick with each cooking use.
Remove the pan from the oven using heat-resistant gloves and place it on a heat-resistant surface or cooling rack. Avoid placing the hot pan directly on cold surfaces, which could cause thermal shock and potentially damage the newly formed seasoning. Allow the pan to cool naturally at room temperature, which typically takes about 30 to 45 minutes. During this time, the oil will continue to bond with the metal surface, creating a smooth, protective patina.
After the initial cooling, examine the pan closely. Professional chefs often recommend multiple seasoning layers to build a robust, more durable nonstick surface. If the pan appears uneven, with thin or patchy areas, you may want to repeat the oil application and heating process. This layering technique progressively improves the pan’s performance and longevity. Apply a thin layer of oil following the same meticulous technique as before, ensuring complete but minimal coverage.
For subsequent seasoning rounds, reduce the oven temperature slightly to around 220 degrees Celsius. This gentler approach helps prevent oil from burning while still allowing proper polymerisation. Each additional layer will incrementally darken the pan and enhance its nonstick properties. Typically, two to three seasoning cycles create an excellent initial foundation for your carbon steel cookware.
Here are key verification points for successful cooling and potential re-seasoning:
- Pan surface appears uniformly dark
- No sticky or uneven patches
- Surface feels smooth and slightly glossy
- Colour ranges from bronze to deep brown
Explore our comprehensive guide on carbon steel pan maintenance to understand the nuanced care these remarkable cooking tools require. By mastering this cooling and potential re-seasoning process, you are creating a pan that will develop exceptional nonstick properties and lasting durability.
Step 6: Verify the Seasoning Quality Before Use
Verifying the quality of your carbon steel pan’s seasoning is the final critical step before introducing it to your cooking arsenal. A properly seasoned pan tells a story through its appearance and feel, revealing the care and precision you have invested in its preparation. The goal is to ensure the seasoning is uniform, durable, and ready to provide a naturally nonstick cooking surface.
Begin by visually inspecting the pan under good lighting. A well-seasoned carbon steel pan should display a consistent dark brown to black colour, resembling a rich, even patina. Look for uniformity across the entire surface, including the bottom, sides, and handle. Uneven colouration or visible light patches indicate areas where the seasoning might need additional attention or another round of treatment.
Next, perform a tactile assessment. Gently run your fingertips across the pan’s surface, which should feel smooth and slightly satiny. There should be no sticky residue or rough patches. A properly seasoned pan will have a sleek, almost silky texture that hints at its nonstick potential. If you detect any tackiness or unevenness, consider repeating the seasoning process to achieve a more refined finish.
To further test the seasoning, conduct a preliminary cooking test with a small amount of oil and a neutral food like an egg. Professional chefs recommend using a thin layer of oil and cooking at medium heat. If the food releases easily and the pan performs smoothly, your seasoning is likely successful. Minimal sticking and easy food release are positive indicators of a well-prepared carbon steel surface.
Here are key verification criteria for your pan’s seasoning:
- Uniform dark brown to black colouration
- Smooth, satiny surface texture
- No sticky or rough areas
- Food releases easily during initial cooking test
- Slight sheen without visible oil residue
Learn advanced techniques for maintaining your carbon steel cookware to ensure your pan continues to perform excellently. By meticulously verifying your pan’s seasoning, you are setting the stage for years of exceptional cooking experiences.
Use this checklist to verify that each critical stage of the seasoning process is completed properly, ensuring optimal results and a pan with strong nonstick qualities.
| Stage | Verification Criteria |
|---|---|
| Post-cleaning | Uniformly metallic surface, free of residues, completely dry |
| After oil application | Surface covered with ultra-thin, almost transparent oil layer |
| After first seasoning round | Uniformly dark, slightly glossy, smooth surface, no sticky patches |
| Between rounds (if repeated) | Dark, smooth surface with deepening colour, no uneven or rough areas |
| Final seasoning check | Consistent dark brown/black colour, satiny texture, no tackiness |
| Cooking test | Food releases easily, no sticking, pan surface has slight sheen |
Transform Your Cooking with Expert-Seasoned Carbon Steel Pans
Are you struggling to achieve that flawless, naturally nonstick finish despite following every step of seasoning guides? Many passionate home cooks find the process intimidating or end up with sticky, uneven results. At Brass & Steel, we understand that the perfect carbon steel pan seasoning demands not only precise steps but also the right materials and design. Our collection is crafted for those who want professional, reliable results every time. Discover our Carbon Steel Collection, engineered from a single sheet for seamless strength, easier cleaning, and unmatched heat performance.
Do not let uncertainty or patchy seasoning hold you back. Choose a carbon steel sauté pan trusted by serious cooks across Europe, specially designed for effortless maintenance and seasoning success. For immediate improvement in your kitchen, find the right pan today on our main site, and feel the satisfaction of a pan that only gets better with every use. Ready to upgrade? Your journey to heirloom-quality results starts now with Brass & Steel.
Frequently Asked Questions
What tools and ingredients do I need for seasoning a carbon steel pan?
You will need high smoke point oils like grapeseed or avocado oil, lint-free towels, tongs, aluminium foil, and an oven mitt. Gather these items to prepare for the seasoning process effectively.
How do I properly clean my carbon steel pan before seasoning?
Clean your pan with warm water and a mild detergent using a soft sponge to remove residues. For tougher spots, use a salt paste; then rinse thoroughly and dry immediately to prevent rust.
How thin should the oil layer be when seasoning my carbon steel pan?
Aim for an almost imperceptibly thin layer of oil that is barely visible on the pan’s surface. After applying the oil, wipe it down until the pan looks slightly shiny but not wet to achieve the best results.
What temperature and time should I use to heat the pan for seasoning?
Preheat your oven to 250 degrees Celsius and place the pan upside down for 30 to 45 minutes. This ensures even heat distribution and allows the oil to bond properly with the pan’s surface.
How can I verify if my carbon steel pan is seasoned correctly?
Inspect the pan for a uniform dark brown to black colour, and feel for a smooth, satiny texture. Conduct a cooking test with a small amount of oil; if food releases easily, your seasoning is successful.
Is it necessary to repeat the seasoning process?
Yes, repeating the seasoning process can enhance the durability of your pan’s nonstick surface. Consider applying additional layers of oil and heating them, especially if you notice uneven patches, typically after two to three cycles.