How to Season a Carbon Steel Pan: Step-by-Step
TL;DR: To season a carbon steel pan, wash off the protective oil, dry it fully, then bake on several ultra-thin coats of a high smoke-point oil. Heat turns that oil into a hard, natural non-stick layer called seasoning. The golden rule: too little oil always beats too much. Build two or three thin layers, break the pan in with fatty foods like bacon, and skip acidic dishes and delicate eggs until the surface is established. Do it right once and the pan only gets better for decades.
If you have just unboxed your first carbon steel pan, seasoning is the one ritual that stands between you and a lifetime of naturally non-stick cooking. It sounds technical, but it is simple once you understand what is happening. Here is exactly how to season a carbon steel pan: which oils to use, the oven method we recommend, a stovetop alternative, and how to fix the problems people hit most.
What seasoning actually is
Seasoning is not a coating you buy or spray on. It is a layer you grow. When you heat a thin film of oil on bare steel past its smoke point, the oil does not simply burn off. It goes through a chemical change called polymerisation, where the fat molecules link together and harden into a thin, tough, slightly slick film that bonds to the metal. Repeat that a few times and those layers stack into a smooth, dark, water-resistant surface. That surface is what releases your eggs, protects the steel from rust, and gives a well-used pan its glossy black patina.
The key word is thin. Polymerisation only works cleanly when the oil layer is barely there. Pile the oil on and the outer film hardens while the oil underneath stays gummy, which is exactly how you end up with a sticky pan. This one principle prevents almost every seasoning headache.
Why carbon steel needs it
Carbon steel, like cast iron, is bare reactive metal. There is no factory non-stick chemical layer doing the work for you, which is precisely why it is free of PFAS and PTFE and safe over any heat source, from induction to an open flame. But bare steel will happily rust and food will happily stick to it. Seasoning is what turns raw metal into a working cooking surface, and it is the trade you make for cookware that lasts a lifetime instead of a couple of years.
Our pans are forged from a single sheet of carbon steel with no rivets, welds, or coatings, and finished with the Carbon Lock™ Surface: a heat and glass treatment that primes the raw steel to grip seasoning from the very first layer. In practice, your seasoning takes hold faster and holds on more stubbornly than it would on untreated steel. The chemistry is the same as any carbon steel pan; the surface just gives it a head start.
First, remove the shipping oil
Every raw pan we ship carries a light protective oil coating so it arrives in perfect condition. That film prevents rust in transit; it is not for cooking, so it has to come off before you season. Wash the pan thoroughly in warm, soapy water with a brush until the surface feels clean and slightly grippy rather than slick. This is the one time to be generous with soap and scrubbing.
Then dry it completely. Bare, unseasoned steel will start to spot with rust within minutes if left wet, so towel it off and, ideally, set it over low heat for a minute to drive off the last moisture. A bone-dry pan is the only good starting point.
Prefer to skip this stage entirely? Our pans are also available with a hand pre-seasoned option, where we build the base layers for you with high smoke-point oil so the pan is ready to cook on straight out of the box. Everything below still applies for maintaining and deepening that seasoning over time.
Choosing the right oil
The single most important quality in a seasoning oil is a high smoke point, because you need the oil to reach the temperature where it polymerises without simply turning to acrid smoke first. Neutral, high smoke-point oils are ideal:
- Grapeseed oil: a reliable, widely available favourite.
- Avocado oil: one of the highest smoke points around.
- Sunflower oil: inexpensive and effective.
- Canola (rapeseed) oil: a dependable everyday choice.
What to avoid: olive oil has too low a smoke point and tends to leave a soft, uneven layer, and butter and animal fats contain milk solids and impurities that burn and turn gummy rather than curing into a clean film. Save those for actual cooking, not for building your base seasoning.
The oven method, step by step
The oven is the most consistent way to season because it surrounds the pan with even heat, so the whole surface, walls and all, cures at the same rate. This is the method we recommend, the same one you will find on our care guide. Set aside about two hours, open a window, and work through it calmly.
- Wash and fully dry the pan. Start from a clean, completely dry surface with the shipping oil already removed.
- Preheat your oven to 250°C (480°F), or as hot as your oven goes. You want it genuinely hot so the oil crosses its smoke point and polymerises rather than just warming up.
- Lightly coat the whole surface with a high smoke-point oil. Use your chosen oil and cover everything: the cooking face, the walls, the outside, and the handle.
- Wipe all the oil back off. With a clean paper towel, buff the oil away until the pan looks dry, not shiny. It will feel as though you have removed all of it. That barely-there residue is exactly the right amount.
- Bake it upside down for 45 minutes, then cool in the oven. Place the pan inverted on the middle rack (a tray or foil below catches any drips) so excess oil cannot pool. Bake for 45 minutes, then turn the oven off and let the pan cool in the oven.
- Repeat once or twice. Run the coat-wipe-bake cycle one or two more times to build a solid base. Each pass leaves the surface a little darker and a little slicker.
After the final cool-down your pan should look evenly bronze to dark brown, with a low sheen rather than a wet gloss. That is a working base layer. It will keep deepening toward black as you cook.
An alternative: the stovetop method
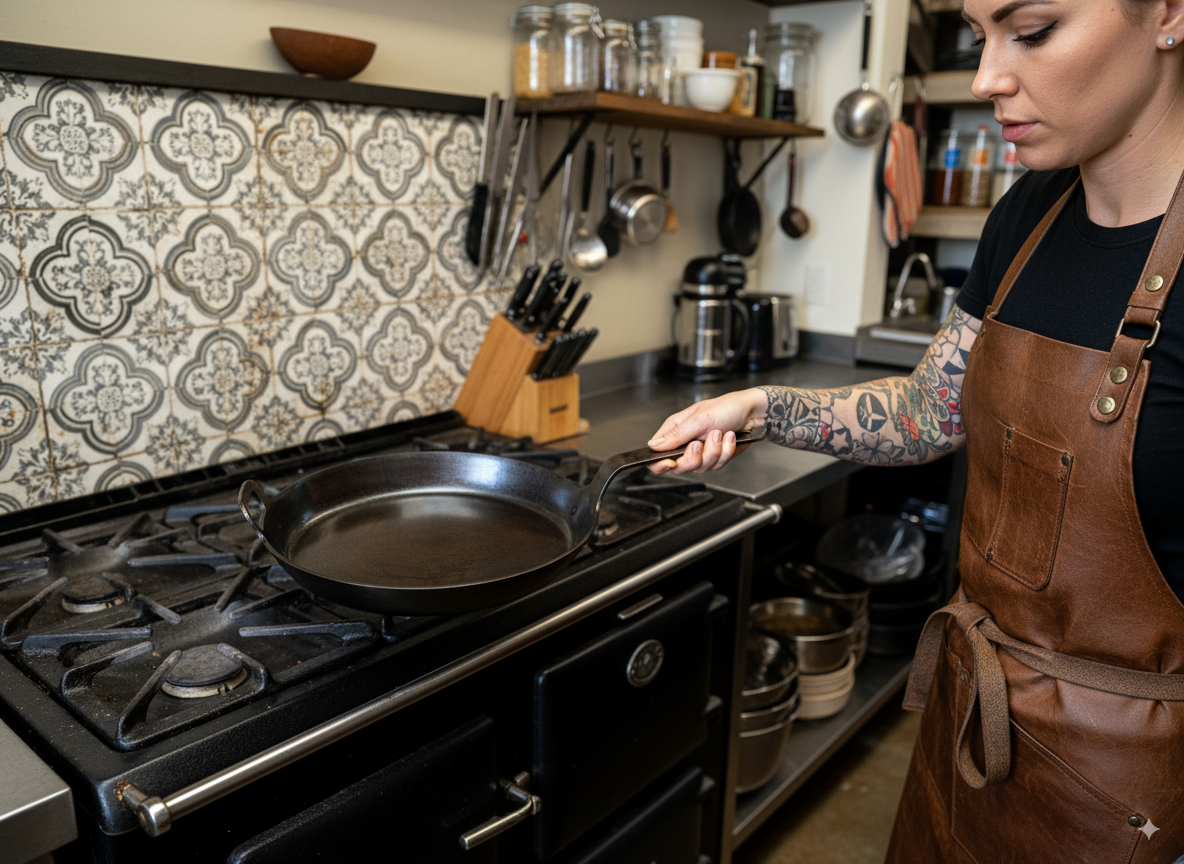
No oven free, or only need a quick touch-up? You can season on the stovetop, though it takes more attention. Set the empty pan over medium-high heat until hot. Add a few drops of high smoke-point oil and buff it around the interior with a paper towel (held with tongs), then keep wiping until the surface looks dry rather than wet. Let the pan heat until the oil stops smoking and the surface darkens slightly, then cool. Repeat two or three times. The trade-off: the stovetop only seasons the cooking face over the burner, not the walls, and heat is less even. It is excellent for reviving a dulled spot, but for a brand-new pan the oven gives a more complete, uniform result.
Build thin layers, and mind the golden rule
If you take one thing from this guide, make it this: a coat that is too thin always beats a coat that is too thick. A layer you think is almost nothing will still cure into real seasoning. A layer that looks generous will stay tacky, streak, or peel. Three whisper-thin passes will always outperform one heavy one.
Seasoning is cumulative. You are not building the whole surface in one session; you are laying a foundation that every future meal adds to. We go deeper into how a patina thickens and matures over months of cooking in our guide on seasoning build-up on cookware.
Breaking in the pan
Your fresh base layer is real but young, and the first handful of meals are your chance to reinforce it. Lean into foods that work with the seasoning rather than against it:
- Start with fatty foods. Bacon, sausages, seared steak, and other fatty cuts leave behind exactly the kind of rendered fat that bonds into more seasoning. These are the ideal first cooks.
- Hold off on acidic foods. Tomatoes, wine, vinegar, and citrus are chemically aggressive and can strip a young seasoning before it has set. Give the surface a few weeks of use before you cook these.
- Save delicate eggs for later. A perfect non-stick fried egg is the reward, not the test. Attempt it too early and you will just tear up seasoning that has not fully bonded. Fry your eggs once the surface has darkened and slicked up over a few meals.
Troubleshooting: sticky or blotchy results
Two problems account for nearly every seasoning complaint, and both are easy to correct.
A sticky or tacky surface
Almost always, this means too much oil: the film was thick enough that the surface hardened while oil beneath stayed soft, leaving a gummy feel. Put the pan back in a hot oven (or over heat) for another 20 to 30 minutes to give that trapped oil time to finish curing. If it is still tacky, scrub the sticky layer back with warm water and a little coarse salt, dry the pan, and re-season with a noticeably thinner coat. When in doubt, wipe more oil off.
A blotchy or uneven look
Patchy colour is cosmetic and very common, especially in early layers. It usually comes from oil pooling, uneven wiping, or uneven heat, and it does not mean the pan is ruined. Keep applying thin, well-buffed coats and keep cooking; the surface will even out and darken as the patina fills in. Seasoning is a process, not a single flawless event.
Ongoing maintenance
Once your pan is seasoned, keeping it that way takes almost no effort, but a few habits matter:
- Do not soak it in soapy water. A quick wash with warm water and a soft brush is fine; leaving the pan submerged is what slowly lifts seasoning and invites rust.
- Dry it on the heat. After washing, set the pan over a low flame for a minute so every trace of water evaporates. A dry pan does not rust.
- Wipe on a thin film of oil. While the pan is still warm, rub the lightest coat of oil over the cooking surface, then buff off the excess. That film protects the steel between cooks.
- Just keep cooking. Nothing seasons a pan better than regular use. Every fatty, hot meal deepens the patina.
Key takeaways
- Seasoning is polymerised oil, a hard natural non-stick layer you build with heat, not a coating you buy.
- Wash off the shipping oil and dry the pan completely before you start.
- Use a high smoke-point oil such as grapeseed, avocado, sunflower, or canola; avoid olive oil and butter.
- The oven method (coat, wipe nearly dry, bake upside down at 250°C (480°F) for 45 minutes, cool in the oven, repeat once or twice) gives the most even base.
- Too thin always beats too thick; build multiple thin layers.
- Break the pan in with fatty foods; delay acidic dishes and delicate eggs.
- Sticky usually means too much oil; blotchy is cosmetic and evens out with use.
- Maintain it by skipping soap-soaks, drying on heat, and wiping on a thin oil film.
Season yours, then cook on it for life
Seasoning a carbon steel pan is a short ritual with a long payoff. Get the base layers right and you own a naturally non-stick, coating-free pan that only improves with every meal, backed by our lifetime guarantee. Our 27cm carbon steel sauté pan (€99) is the ideal everyday size for 2 to 3 people, while the 30cm pan (€119) serves 3 to 4 people, with room for family dinners and bigger sears. Both are forged from a single sheet of steel and primed with the Carbon Lock™ Surface so your seasoning grabs faster from day one. Choose your pan, season it once, and cook on it for a lifetime.
FAQ
How many times should I season a new carbon steel pan?
Two to three thin layers is a solid starting base for most pans. You do not need to build the perfect surface in one session, because every meal you cook adds to it. Focus on getting each coat thin and evenly cured rather than on hitting a magic number.
Why is my carbon steel pan sticky after seasoning?
A sticky or tacky surface almost always means you used too much oil, so the film could not fully harden. Return the pan to a hot oven for another 20 to 30 minutes to finish curing it. If it stays tacky, scrub the layer back with warm water and coarse salt, dry the pan, and re-season with a much thinner coat.
Can I season a carbon steel pan without an oven?
Yes. Heat the pan on the stovetop, buff on a few drops of high smoke-point oil, wipe until the surface looks dry, then heat until the oil stops smoking and the surface darkens. Repeat two or three times. It only seasons the area over the burner, so the oven still gives a more even result on a new pan.
What oil is best for seasoning carbon steel?
Any neutral oil with a high smoke point works well: grapeseed, avocado, sunflower, and canola are all excellent. Avoid olive oil, butter, and animal fats, which have lower smoke points or contain solids that burn and turn gummy instead of curing into a clean layer.