
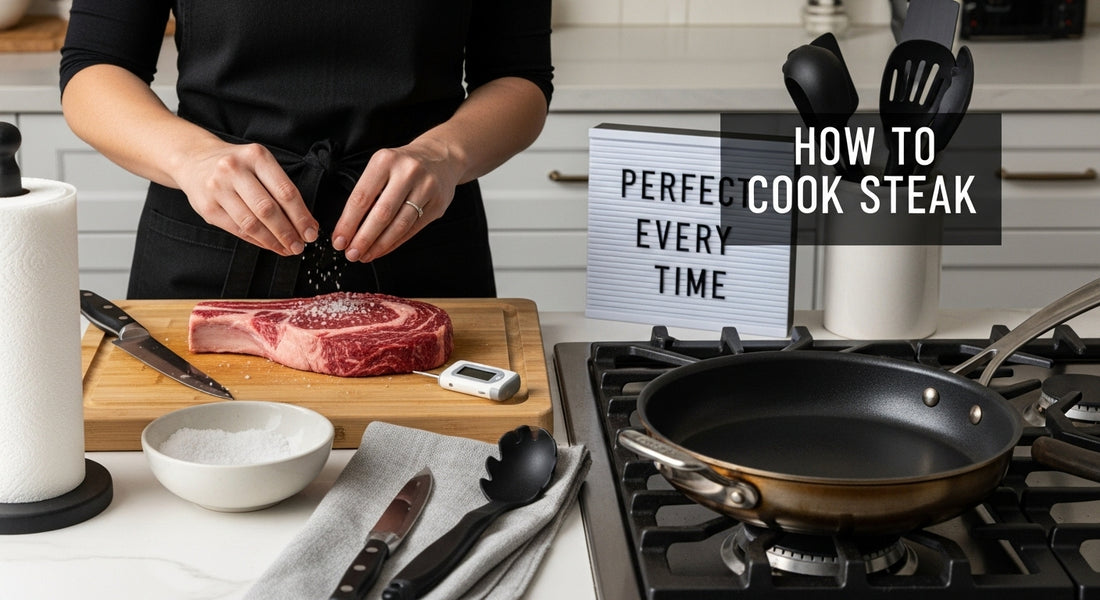
How to Cook Steak in a Carbon Steel Pan: Perfect Every Time
Cooking steak in a carbon steel pan is a tradition that promises unbeatable flavour and restaurant-quality results at home. Most people obsess over the latest gadgets or fancy marinades, convinced they hold the key to a perfect steak. Yet the real secret lies in the basics—a great cut, a properly prepared pan, and a bit of patience. In fact, thickness matters so much that steaks should be around 1 to 1.5 inches thick for the perfect balance between a caramelised crust and a juicy centre. It’s not about complicated tricks. The simplest steps make all the difference.
Table of Contents
- Step 1: Choose The Right Cut Of Steak
- Step 2: Prepare Your Carbon Steel Pan
- Step 3: Season The Steak Generously
- Step 4: Sear The Steak Perfectly
- Step 5: Verify Doneness With A Thermometer
- Step 6: Rest And Serve The Steak
Quick Summary
| Key Point | Explanation |
|---|---|
| 1. Choose marbled cuts like Ribeye | Cuts with good marbling ensure flavour and tenderness, enhancing your steak’s overall quality. |
| 2. Properly season the steak before cooking | Generously applying kosher or coarse salt boosts the taste and helps create a desired crust. |
| 3. Preheat your carbon steel pan thoroughly | A properly heated pan is essential for achieving a perfect sear, sealing in flavours effectively. |
| 4. Use a meat thermometer for accuracy | Accurate temperature readings ensure your steak reaches the desired doneness without overcooking. |
| 5. Let the steak rest before slicing | Resting allows juices to redistribute, keeping the meat succulent and preventing dryness. |
Step 1: Choose the Right Cut of Steak
Selecting the perfect steak is the foundation of an exceptional meal. Not all cuts are created equal, and understanding which steak works best in a carbon steel pan can transform your cooking experience. Ribeye, New York strip, and sirloin are exceptional choices that promise outstanding results.
When shopping for your steak, look for cuts with generous marbling - those delicate white streaks of fat that promise incredible flavor and tenderness. According to South Dakota State University Extension, marbling is crucial for creating a juicy, delectable steak. Prime and Choice grade beef typically offer the best marbling, ensuring your pan-cooked steak will be both succulent and rich in flavor.
Thickness matters significantly when preparing steak in a carbon steel pan. Aim for steaks approximately 1 to 1.5 inches thick. This thickness allows for a beautifully caramelized exterior while maintaining a perfectly cooked interior. Thinner steaks can quickly overcook, losing their tenderness and becoming tough. Thicker cuts provide more margin for error and allow you to achieve that coveted medium-rare or medium doneness.
Consider your personal preferences when selecting a cut. Ribeye offers the most marbling and robust flavor, making it ideal for those who love a rich, meaty experience. New York strip provides a balanced combination of tenderness and flavor, while sirloin offers a leaner option with still-impressive taste. Read more about mastering the perfect sear with your carbon steel pan to complement your cut selection.
When purchasing, visit a reputable butcher who can guide you in selecting a high-quality steak. Fresh, well-sourced meat makes a substantial difference in your final dish. Look for meat that is bright red, firm to the touch, and has consistent marbling throughout. Avoid steaks with excessive liquid in the packaging or those with dark brown or greyish edges.
By carefully selecting your steak, you’re setting the stage for a remarkable culinary experience that showcases both your chosen cut and the exceptional performance of your carbon steel pan.
Below is a comparison table of popular steak cuts recommended for carbon steel pan cooking, highlighting their marbling, flavour, and ideal thickness for best results.
| Steak Cut | Marbling Level | Flavour Profile | Ideal Thickness |
|---|---|---|---|
| Ribeye | High | Rich, robust | 1-1.5 inches |
| New York Strip | Moderate to high | Balanced, beefy | 1-1.5 inches |
| Sirloin | Moderate | Leaner, yet flavourful | 1-1.5 inches |
Step 2: Prepare Your Carbon Steel Pan
Preparing your carbon steel pan is a critical step that transforms an ordinary cooking surface into a professional grade cooking tool. Proper preparation ensures your steak will develop a perfect golden crust and release easily from the pan. Before you start, your pan needs thorough cleaning and appropriate seasoning to create a naturally non-stick surface.
Begin by inspecting your carbon steel pan carefully. If it’s brand new, wash it thoroughly with warm water and mild soap to remove any manufacturing residues. For existing pans, ensure there is no rust or old food debris. Dry the pan completely using a clean kitchen towel or paper towels. Moisture is the enemy of a good seasoning process, so take extra care to remove all water droplets.
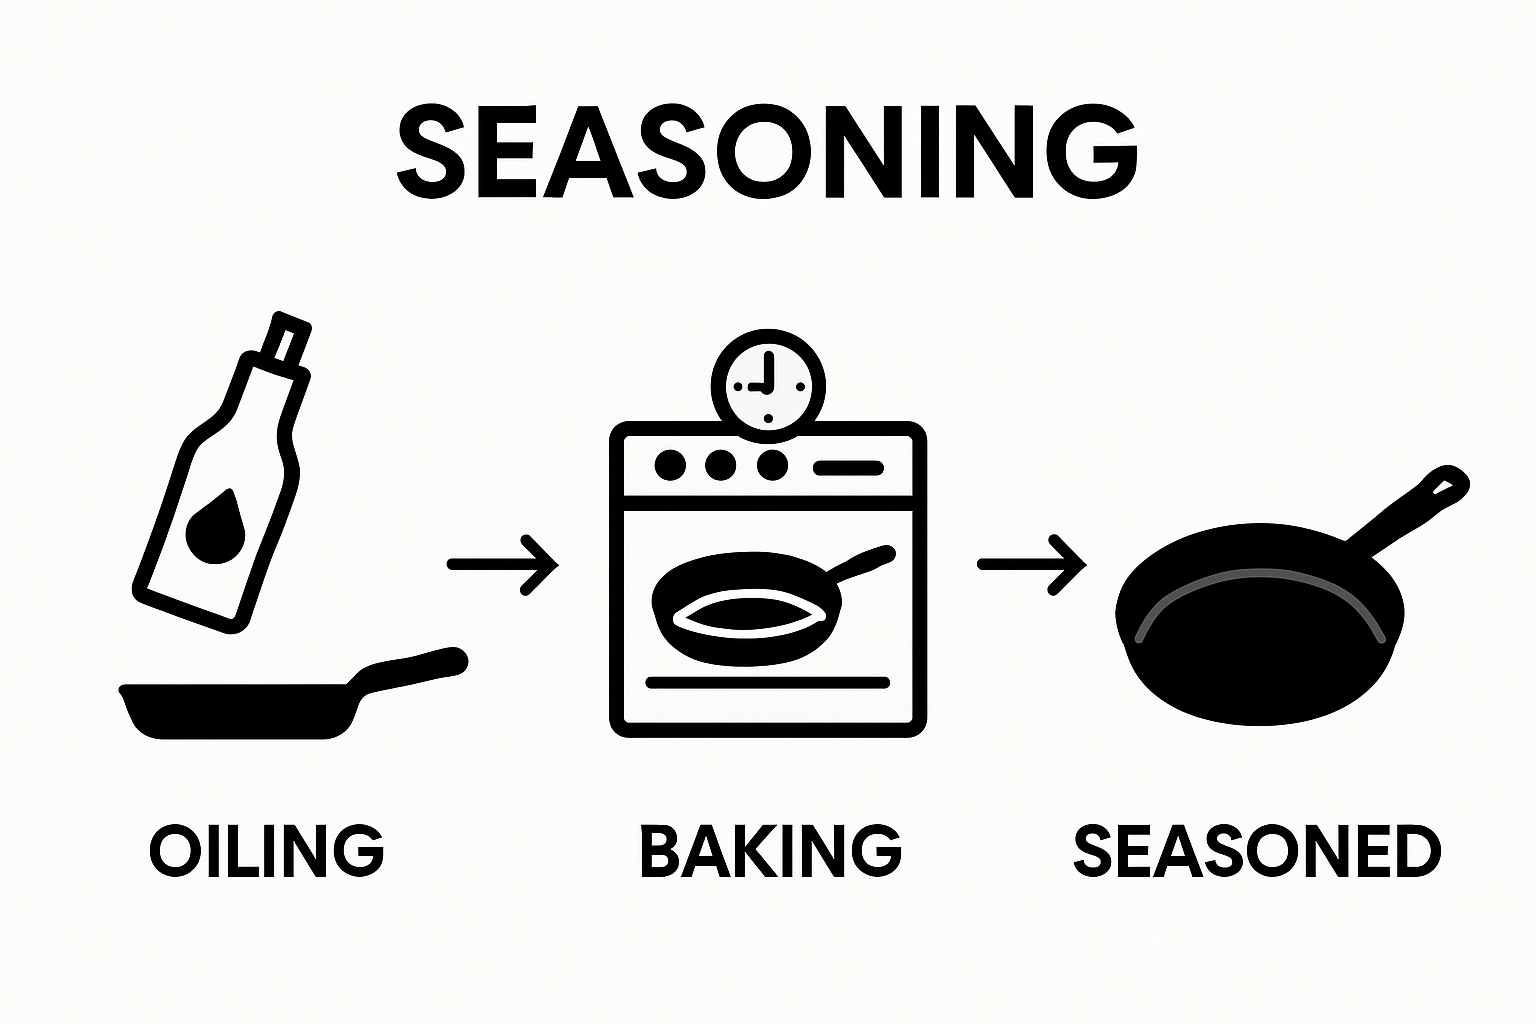
The seasoning process creates a protective layer that prevents rust and provides a natural non-stick surface. Learn more about seasoning your carbon steel pan with our comprehensive guide. Select a high smoke point oil like grapeseed, avocado, or sunflower oil. Avoid olive oil or butter, which can burn and create an unpleasant taste. Apply a very thin, even layer of oil across the entire pan surface, including the sides and exterior. Use a clean paper towel or lint-free cloth to spread the oil, ensuring no pooling or excess liquid remains.
Heating the pan correctly is crucial for proper seasoning. Place the oiled pan in an oven preheated to 250 degrees Celsius. The high temperature allows the oil to polymerize, creating a hard, protective coating that will improve with each subsequent use. Bake the pan for approximately 30 minutes, then remove it carefully using oven mitts. Allow the pan to cool completely at room temperature.
A well-seasoned carbon steel pan will have a dark, almost black appearance and a smooth surface.
 If the pan looks patchy or uneven, repeat the seasoning process two or three times. Remember that seasoning is an ongoing process - cooking fatty foods and maintaining your pan properly will continue to improve its non-stick properties and overall performance.
By dedicating time to properly preparing your carbon steel pan, you’re setting the stage for cooking steaks that will rival those served in professional restaurants. The right preparation makes all the difference between a good meal and an extraordinary culinary experience.
Step 3: Season the Steak Generously
Seasoning transforms an ordinary steak into a restaurant-quality masterpiece. Proper seasoning is more than just adding salt and pepper - it is an art that enhances the meat’s natural flavors and creates a stunning crust during cooking. According to America’s Test Kitchen, the right seasoning technique can dramatically improve your steak’s taste and texture.
Choose kosher salt or coarse sea salt for the best results. These larger crystal salts penetrate the meat more effectively than fine table salt. Remove your steak from the refrigerator 30-45 minutes before cooking, allowing it to reach room temperature. This helps ensure even cooking and prevents the meat from becoming tough. Pat the steak completely dry using paper towels - moisture is the enemy of a perfect sear.
Apply salt generously, almost aggressively. Most home cooks are too timid with seasoning, afraid of over-salting. Sprinkle salt from a height of about 6 inches, which helps distribute the seasoning more evenly across the steak’s surface. Cover both sides thoroughly, ensuring a consistent layer that looks like a light snowfall. Press the salt gently into the meat to help it adhere. If you are using freshly ground black pepper, add it just before cooking to prevent burning.
For an extra layer of flavor, consider a technique called dry brining. After salting, place the steak uncovered on a wire rack in the refrigerator for 1-24 hours. This allows the salt to draw out moisture, which then reabsorbs into the meat, creating deeper seasoning and helping to develop a more impressive crust. Learn more about advanced steak preparation techniques with our comprehensive cooking guides.
Remember that different cuts might require slight variations in seasoning. Fattier cuts like ribeye can handle more aggressive seasoning, while leaner cuts like tenderloin might need a more delicate approach. Trust your instincts and experiment to find your perfect seasoning technique.
A perfectly seasoned steak will have a light, even coating of salt that looks natural and appetizing. When you touch the steak, the salt should feel integrated, not sitting loosely on the surface. By taking your time with this crucial step, you are setting the foundation for a truly exceptional culinary experience.
Step 4: Sear the Steak Perfectly
Searing a steak is where culinary magic happens. The goal is to create a golden-brown crust that seals in flavors and delivers a restaurant-quality appearance. According to Seoul National University research, proper searing dramatically enhances the meat’s roasted flavor through the Maillard reaction.
Begin by heating your carbon steel pan over medium-high heat. Patience is key - wait until the pan is genuinely hot, but not smoking aggressively. Add a thin layer of high smoke point oil like grapeseed or avocado oil. The oil should shimmer and move quickly across the pan’s surface, indicating the perfect temperature. Explore more about choosing the right pan for your steak.
Carefully place the steak in the pan, laying it away from you to prevent oil splashing. Do not move the steak for the first 2-3 minutes. This uninterrupted contact allows a beautiful, crisp crust to develop. Listen for a consistent sizzling sound - this indicates proper heat and caramelization. The steak should release easily from the pan when the crust has formed. If it sticks, it is not ready to be turned.
Use tongs to flip the steak, never a fork which punctures the meat and releases precious juices. Sear the second side for approximately the same duration. For medium-rare, aim for about 3-4 minutes per side, depending on the steak’s thickness. Thicker cuts might require slightly longer cooking times or finishing in a preheated oven.
To check doneness, use the finger test or a meat thermometer. For medium-rare, you are looking for an internal temperature of 54-57 degrees Celsius. The steak should feel soft but with slight resistance when pressed. A perfectly seared steak will have a deep golden-brown exterior that looks almost burnished, with a surface that appears crisp and inviting.
Once cooked, transfer the steak to a cutting board and let it rest for 5-7 minutes. This crucial resting period allows juices to redistribute throughout the meat, ensuring each bite remains succulent and flavorful. Cover the steak loosely with aluminium foil to retain warmth without trapping steam, which could soften that perfect crust you worked so hard to create.
Step 5: Verify Doneness with a Thermometer
Verifying your steak’s doneness is the final crucial step that separates good cooking from great cooking. A meat thermometer is your most reliable tool for achieving perfect results every single time. According to FoodSafety.gov, using a food thermometer ensures both optimal taste and critical food safety standards.
Invest in a high-quality digital instant-read meat thermometer with a thin probe. Avoid using classic dial thermometers, which are slower and less precise. Digital thermometers provide rapid temperature readings within seconds, allowing you to check doneness without losing the steak’s precious heat. Position the probe in the thickest part of the steak, avoiding fat pockets or bone, which can give inaccurate readings.
Understand the temperature ranges for different levels of doneness. Rare steak registers between 50-52 degrees Celsius, characterized by a cool red centre. Medium-rare sits at 54-57 degrees Celsius, offering a warm red centre that most steak enthusiasts prefer. Medium reaches 60-63 degrees Celsius with a warm pink centre. Beyond medium, the steak begins to lose moisture and tenderness.
When checking temperature, remove the steak from the heat and let it rest for 2-3 minutes before inserting the thermometer. This resting period allows internal temperatures to stabilise and juices to redistribute. Remember that the steak’s temperature will continue rising slightly after removal from the pan - a phenomenon called carryover cooking. Remove the steak from heat about 2-3 degrees below your target temperature to account for this residual cooking.
Carefully clean your thermometer with hot, soapy water or an alcohol wipe between uses to prevent cross-contamination. Store it in a clean, dry place to maintain accuracy. Learn more about precision cooking techniques with our comprehensive culinary guides.
A perfectly cooked steak will feel firm yet yielding when pressed, with a surface that glistens and a centre that remains juicy.
Here is a quick reference table showing the recommended internal temperatures for steak doneness levels and their key characteristics.
| Doneness | Internal Temperature (°C) | Centre Colour | Texture |
|---|---|---|---|
| Rare | 50-52 | Cool red | Very soft |
| Medium-rare | 54-57 | Warm red | Soft, springy |
| Medium | 60-63 | Warm pink | Slightly firm |
By mastering the art of temperature verification, you transform a simple piece of meat into a culinary masterpiece that will impress even the most discerning food enthusiasts.
Step 6: Rest and Serve the Steak
Resting your steak is the final transformative step that elevates a good meal to an extraordinary dining experience. Patience during this stage determines whether your steak remains succulent or becomes disappointingly dry. According to PBS culinary experts, resting allows juices to redistribute throughout the meat, ensuring each bite remains tender and flavorful.
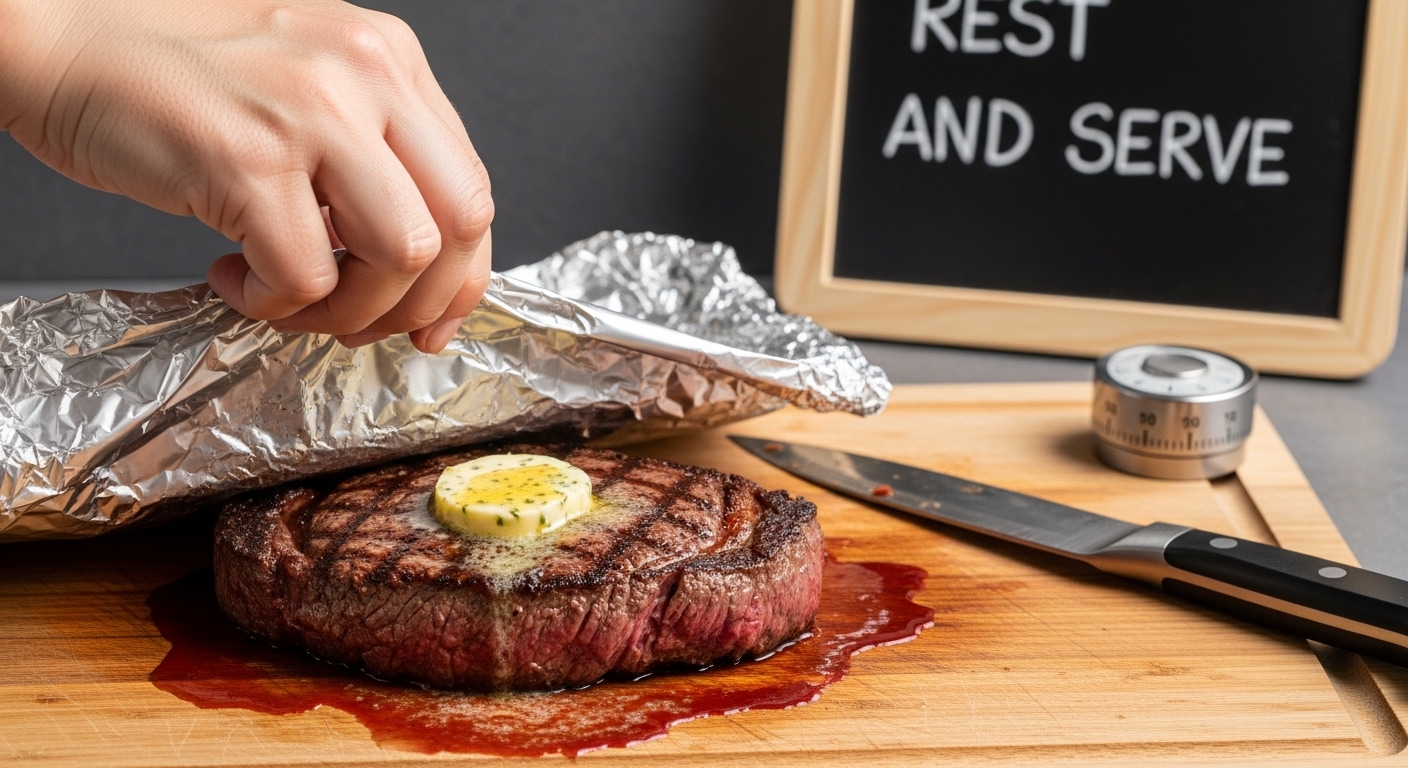
Transfer your perfectly seared steak to a cutting board or warm plate, and loosely tent it with aluminium foil. Do not wrap the steak tightly, as this will trap steam and soften the beautiful crust you worked hard to create. The resting time depends on the steak’s thickness - approximately 5-7 minutes for a standard ribeye or New York strip, and slightly less for thinner cuts. Explore more about professional cooking techniques in our comprehensive guides.
While resting, prepare any accompanying sides or sauces. Some chefs recommend adding a small pat of compound butter on top of the steak during this period. The residual heat will gently melt the butter, creating a luxurious sauce that enhances the meat’s natural flavors. Avoid cutting into the steak immediately - this will cause precious juices to escape, resulting in a drier, less enjoyable meal.
When ready to serve, slice the steak against the grain. Look for the natural muscle lines running through the meat and cut perpendicular to them. This technique ensures each slice remains tender and easy to chew. For presentation, consider slicing the steak into thin strips or leaving it whole, depending on your dining context and personal preference.
A perfectly rested steak will have a glistening surface, with juices pooling slightly around its edges. When you cut into it, the meat should look moist and pink, not dry or grey. The first bite should feel tender, with a rich, concentrated flavor that speaks to the care you have taken throughout the cooking process.
By mastering the art of resting, you transform a simple piece of meat into a culinary experience that rivals professional restaurant cooking.
 Your patience during these final moments is the secret ingredient that makes all the difference between a good steak and an unforgettable one.
Take Your Steak to the Next Level with Professional Carbon Steel Pans
Struggling to achieve that perfect restaurant-quality steak at home? Many cooks face frustration with uneven sear, stubborn sticking, or inconsistent doneness, especially when using the wrong pan. The article you just read explains how carbon steel pans with their exceptional heat retention and natural nonstick patina transform both taste and texture. Yet, even the best technique falls flat without the right equipment. That is where Brass & Steel steps in.
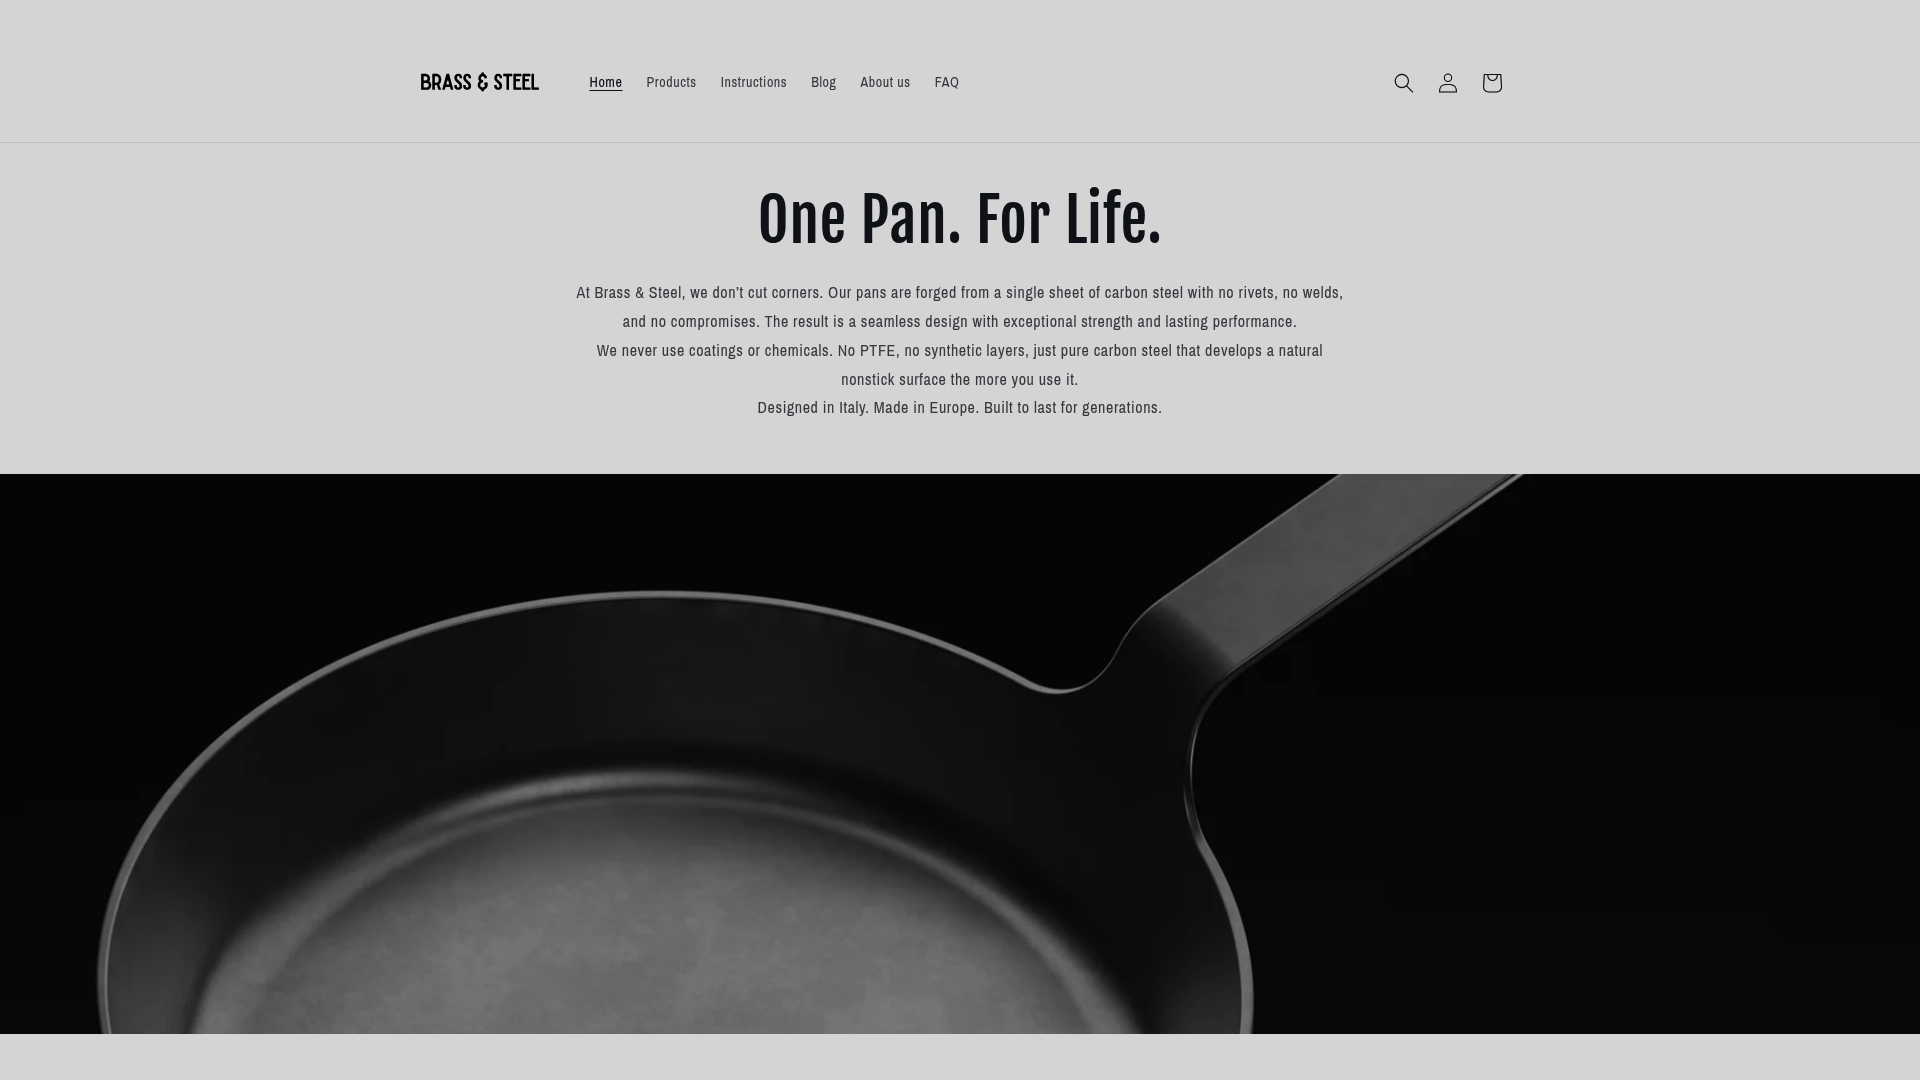
Upgrade your kitchen with our single-piece Carbon Steel Collection. Designed for serious cooks and built to last for generations, our pans offer seamless durability and flawless searing power – with no coatings, no rivets, and full induction compatibility. Now is the time to experience effortless cooking and make every steak memorable. Browse the Carbon Steel Collection or explore our full range at Brass & Steel to unlock your best results yet. Perfect your skills, dazzle your guests, and cook steak perfectly every time.
Frequently Asked Questions
What is the best cut of steak to use in a carbon steel pan?
Ribeye, New York strip, and sirloin are excellent choices that provide great flavour and tenderness when cooked in a carbon steel pan.
How do I prepare my carbon steel pan for cooking steak?
Clean your pan thoroughly, season it with a high smoke point oil, and bake it in the oven to create a non-stick surface. Proper preparation enhances your cooking experience and ensures a perfect sear.
How should I season my steak before cooking?
Generously season your steak with kosher or coarse sea salt, and let it sit at room temperature for 30-45 minutes before cooking. This helps enhance flavour and prepares the meat for a perfect crust.
What is the best way to check the doneness of my steak?
Use a digital instant-read meat thermometer to check the internal temperature. Aim for 54-57 degrees Celsius for medium-rare, and remove the steak from heat a few degrees below your target to account for carryover cooking.
Recommended
- Mastering the Perfect Sear with a Carbon Steel Pan for Steak, Chicken – Brass & Steel
- Carbon Steel vs Cast Iron Showdown: The Best Pan for a Mighty Steak – Brass & Steel
- How to Season a Carbon Steel Pan (Step-by-Step Guide) – Brass & Steel
- Instructions – Brass & Steel